The gift that wasn’t and a tutorial

Scissors quilted cozy
Scrappy, quilted cozy for sewing scissors or shears

Here is a  quick delightful last-minute gift you can whip up  for a friend all in an afternoon, using your small scraps.

I made it from this book  in the Hobby Craft Series that I have had forever! I have loved turning the pages and dreaming of making all those pretty things in it.
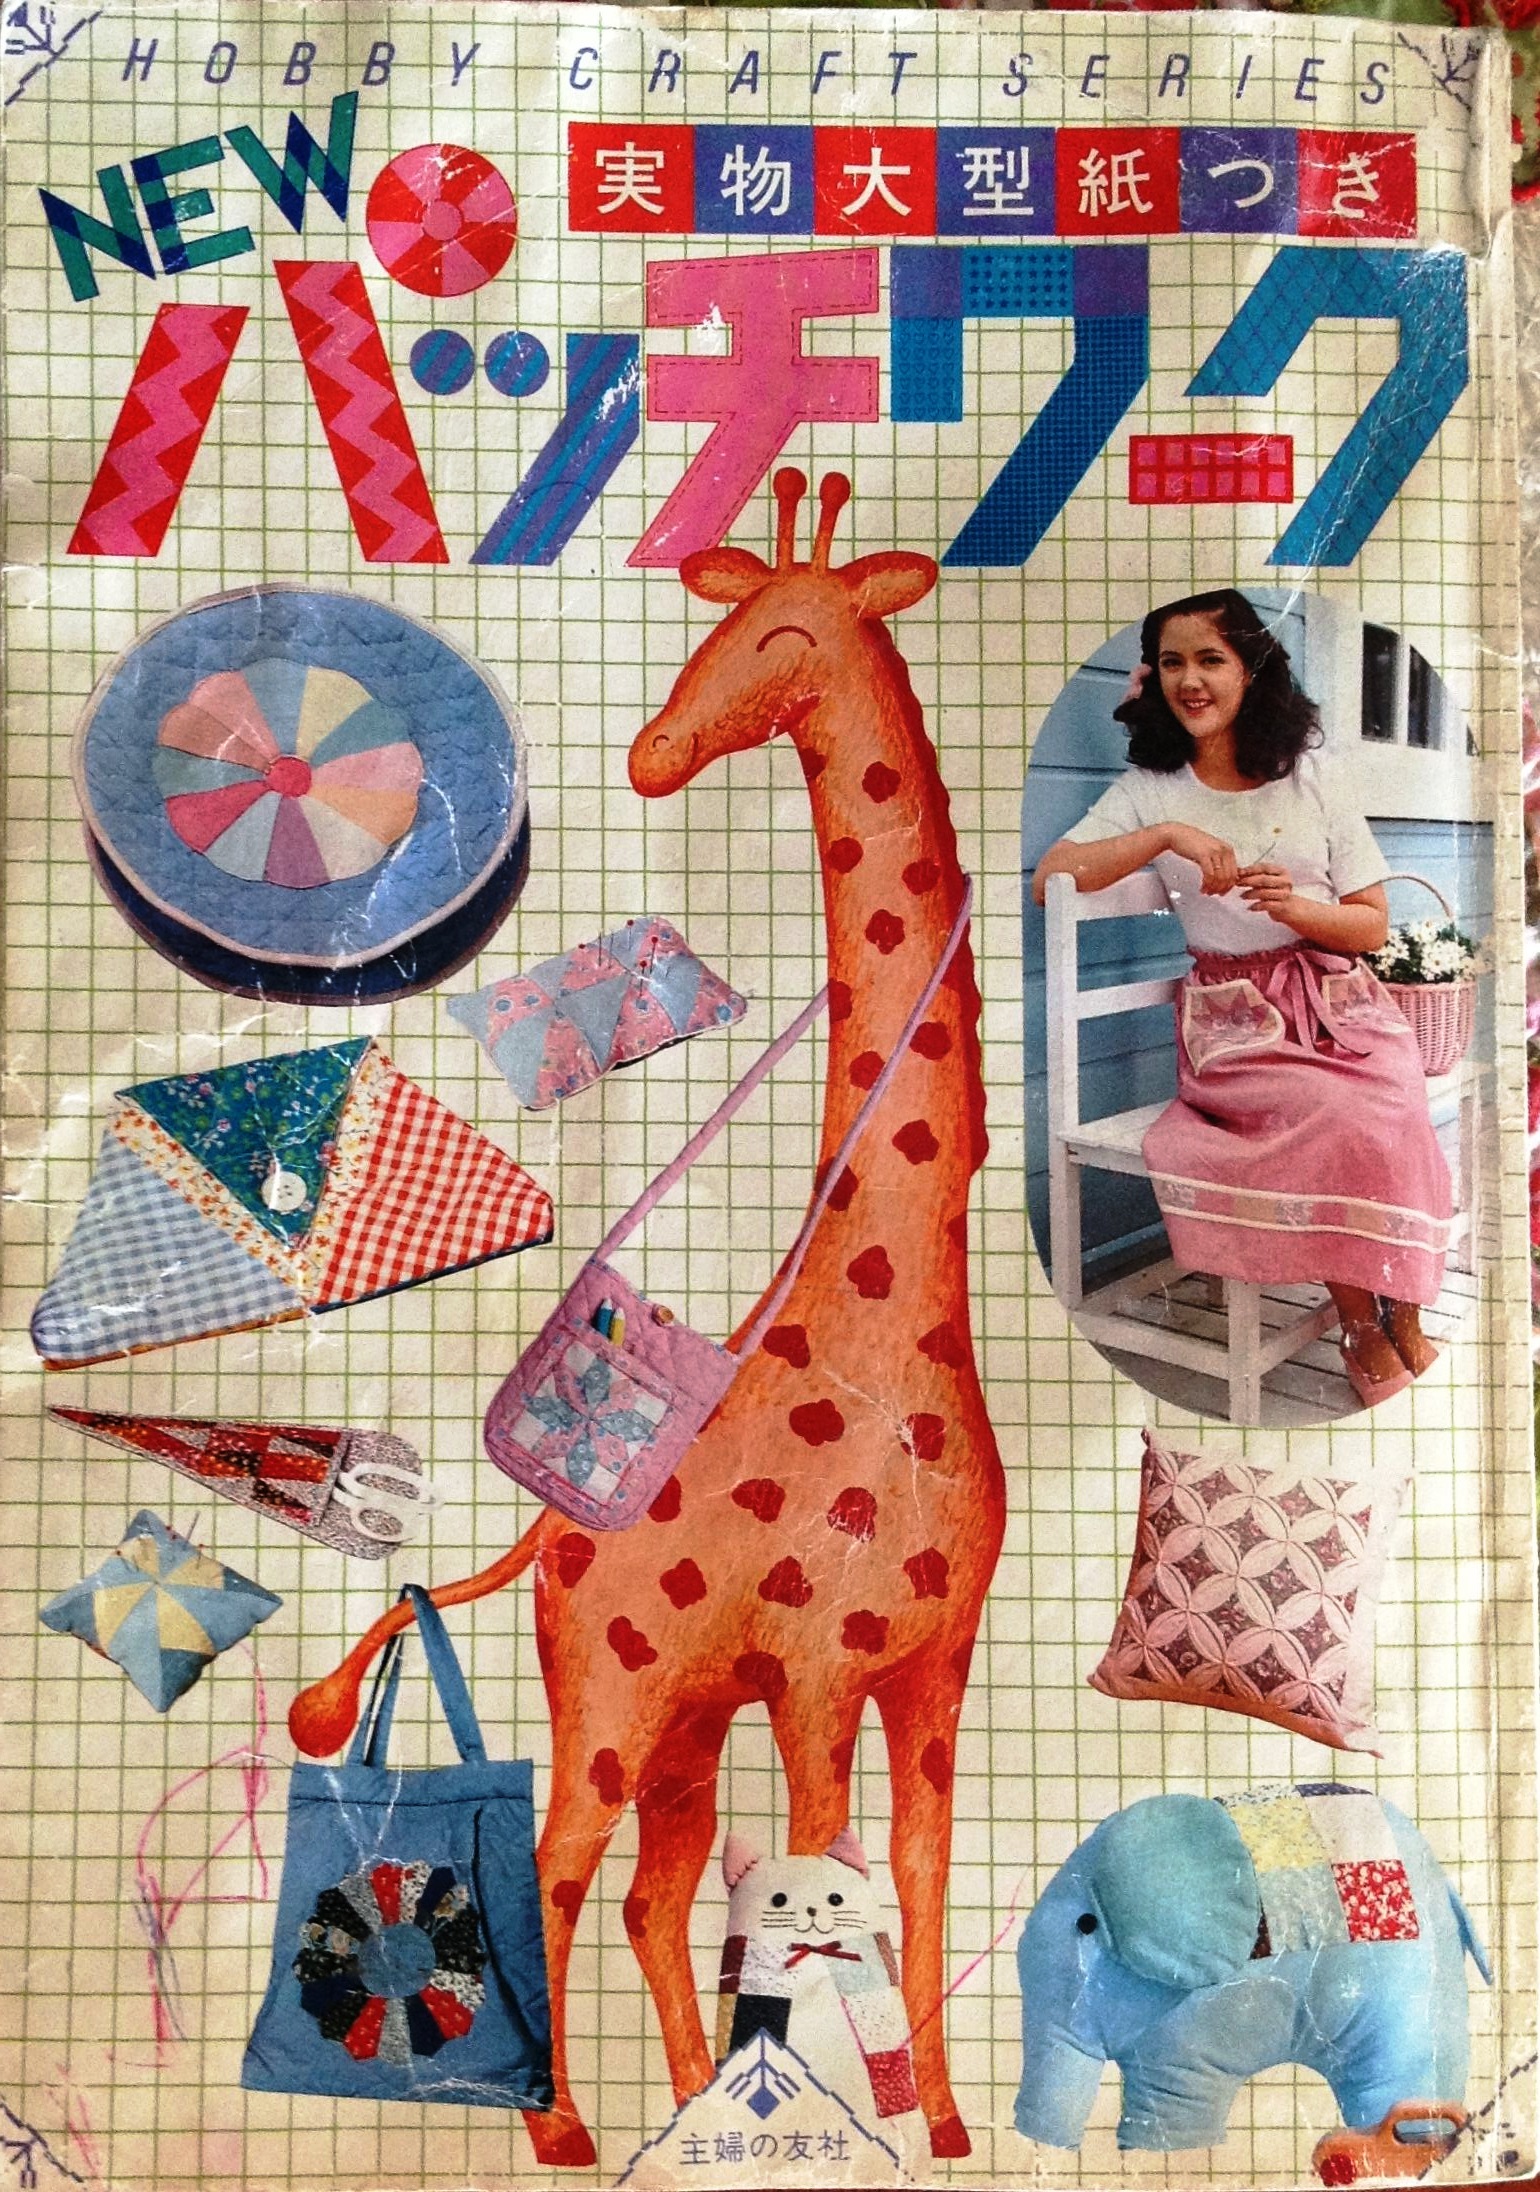
Craft book in Japanese

Have also made a few things like that little elephant I  made into a bag for baby stuff when my son was an infant – the bottles went into the legs and  tissues into the trunk! The cat I made into a  pillow!

But one thing that I always wanted to make was this scissors cozy – with the instructions in Japanese.

Instructions for scissors cozy (in Japanese!)
Instructions for scissors cozy (in JapaThe

This would make an ideal gift for the queen bees in my virtual quilting bee! And English paper piecing or the paper foundation piecing method would be perfect for this, I decided.

For those of you looking for a quick and easy gift for someone who loves sewing, I am sharing how I went about making this delightful little cozy!

You will need

– 25 scraps of assorted fabric about 1.5″ X 2.5″

– 12″ X 8″ fabric or assorted scraps for back.

-12″ X 8″matching  fabric for inner lining

–  30″ matching bias binding 1′ wide

– Two pieces of  thick  batting 12′ X 8″ and 10″ X 6.5″ for back and front respectively.

If you decide to do English paper piecing – Each of those small triangles has dimensions 0.75″ base and 1.5″ height. The top angle is 30 degrees; you can easily make a template on stiff card paper, using your quilting ruler or a protractor if you have one.

Use the template to draw 25 triangles on paper and cut them out very accurately. Ensure your fabric is starched real stiff! Place the paper triangles on wrong side of fabric and cut roughly 1/4 ” outside it.   Tack the fabric to the paper. This comes up really fast 🙂

Follow the picture here  to join 5 rows of 1, 3, 5, 7 and 9 triangles. To join, you place two triangles right side together and take tiny whip stitches along the edges to be joined. There are several excellent EPP tutes available on the net and on youtube!

If you decide to use the foundation paper method (like I did), the ready height of the front is 7.5″ and the base width is 3.75″. Follow the picture to make your foundation paper pattern. Trace out rows on separate strips of paper about 3″ wide and add 1/4′ seam allowance on either side of the row.  Begin with the centre triangle as piece 1, adding on triangles on either side as you go along. When the rows are ready, trim them  and join them up . I used hand sewing to join the rows for a more perfect finish.  Here is what the front of my cozy looked like.

Scissors cozy front
Front of scrappy scissors cozy

For the back, I decided to go for a scrappy look and joined up 1.5″ X 2.5″ rectangles in 7 vertical rows roughly in a triangle shape about 7″ wide at the base and 12″ in height. This is what my unfinished back looked like. Of course, you could use a single fabric to make the back.

Untrimmed scissors cozy scrappy back
Scrappy scissors cozy back

Then came the lining. I was at my stingiest best and stitched the lining into a tube along its longer side. I marked a point about 9″ on the seam and cut and cut it like this! The shorter piece with the seam would be used for the front inner lining and would not show up 🙂

Preparing the lining
The lining piece stitched into a tube and cut to get the front and back linings.
Front and back lining for scissors cozy
Front and back lining – now iron the centre seam flat!

Add the batting and quilt each piece individually ( without trimming the back). I just quilted in the ditch.

Bind the front base only. ( I now drew a template 10.5 ” tall and 5.5 ” wide and trimmed the back.) Place the front and back together.

and do finer trimming if any required. Put the binding and you are ready! I also added a little loop on the back to facilitate hanging the scissors near my workplace.

Do ask me if anything is not clear, this tute assumes that you know the basics of EPP / foundation piecing! This is how my finished scissors cozy looked from the front…

Quilted scrappy scissors cozy
Front of scissors cozy
Scrappy sewing scissors quilted cozy back
Quilted scissors cozy back

And here is the back!  At the end of it all, I so fell in love with the cozy, that I decided not to send it to the Queen Bee  :-p

Instead a made another one, this time for a pair of small scissors , pictured here!

Scrappy, quilted cozy for small scissors - front
Quilted cozy for scissors
Quilted, scrappy cozy for scissors - back
Back of scissors cozy

I decided to quickly mail the gift and block to Queen Bee Nirmala, before I changed my mind, again! Hope this will make up for sending her a block made of printed fabric instead of solids like she wanted, and that too three weeks late 😉

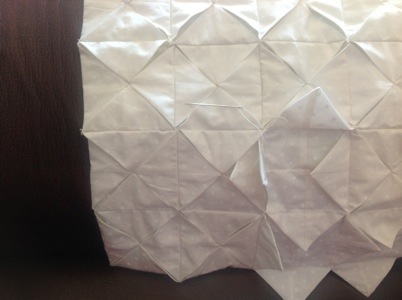
My Cathedral Window Quilt completed!

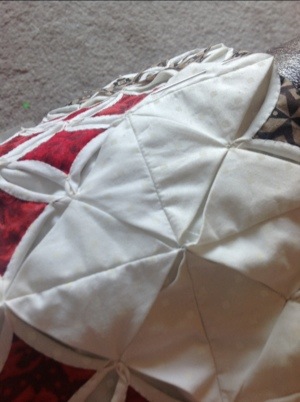
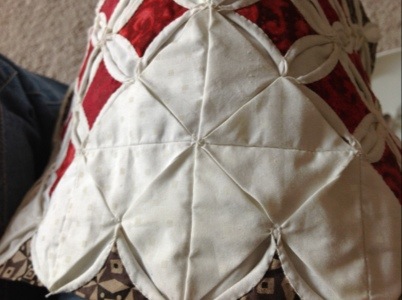
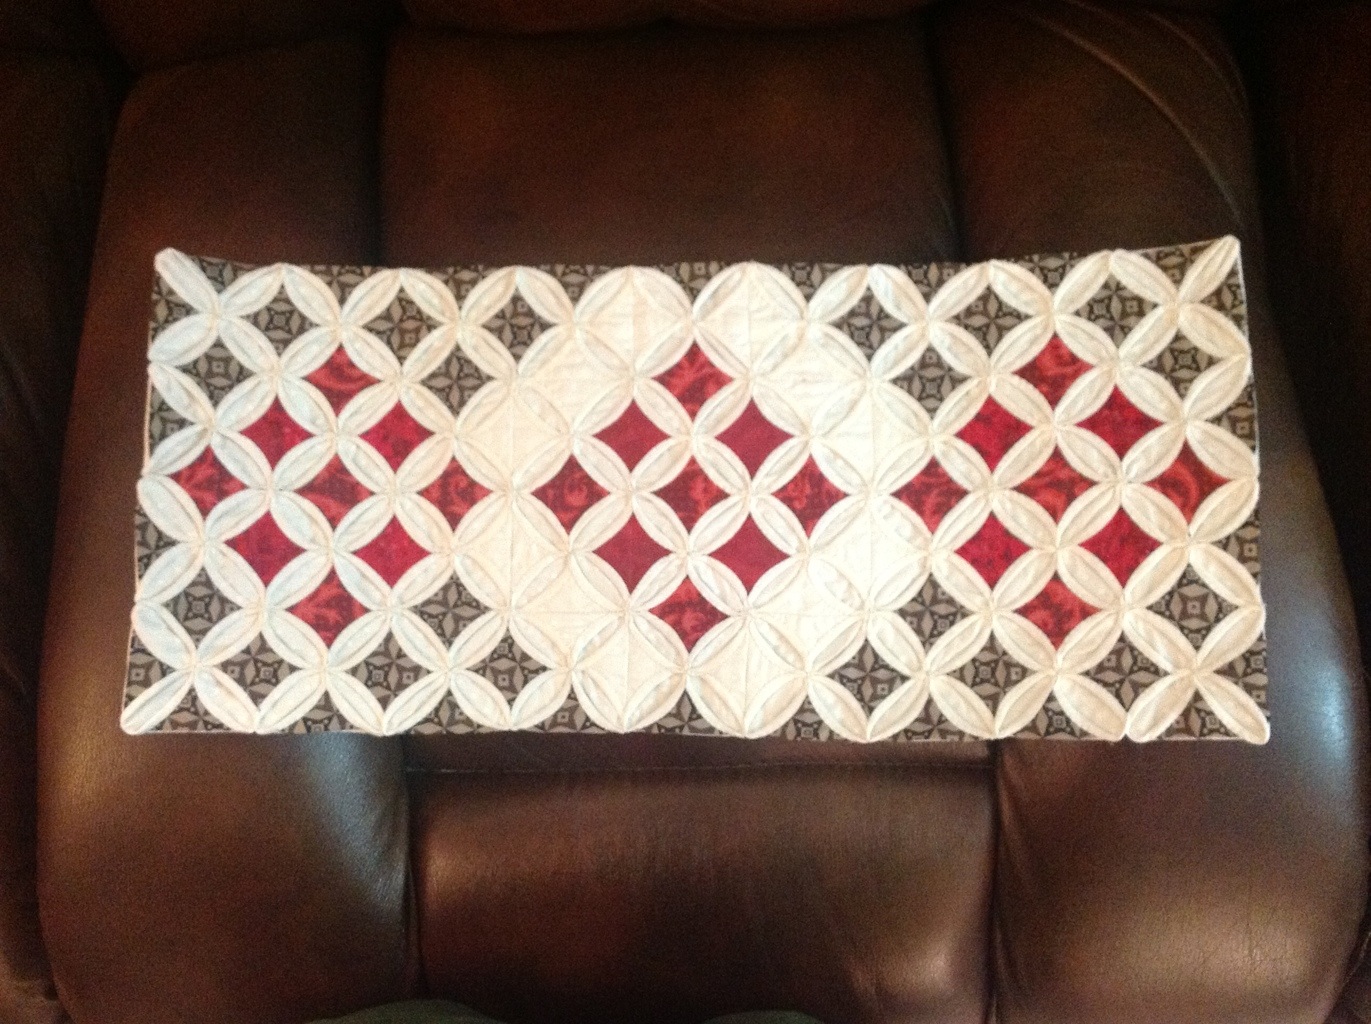
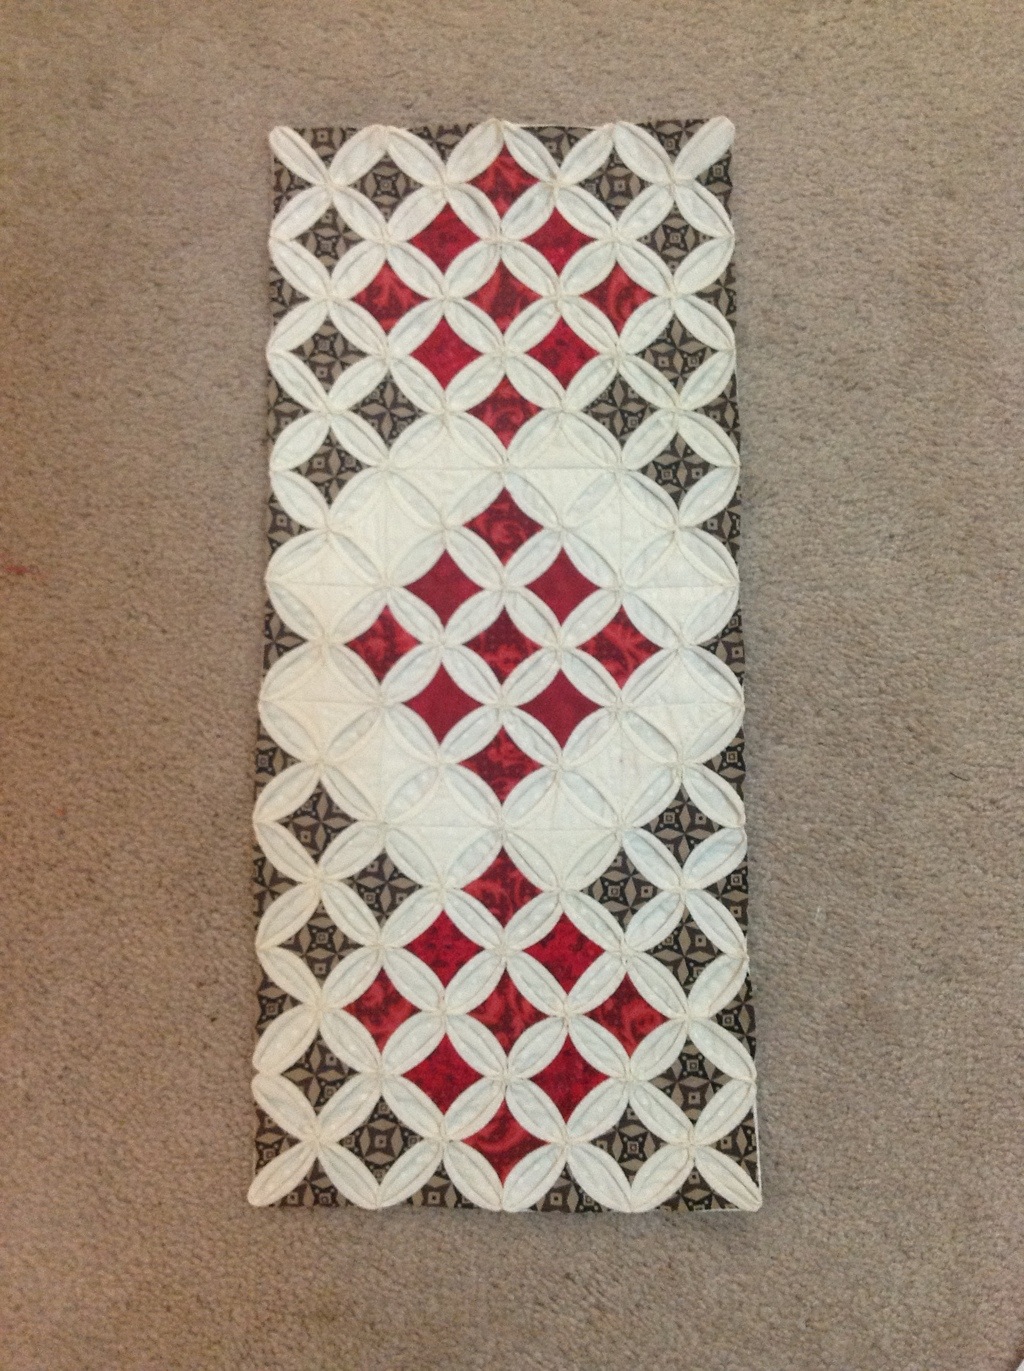
So my Cathedral Window Quilt has finally reached its new home.

I have shared the first part of its journey from squares to quilt here.

We ended with the 9X4 window frames ready for the panes. And I was staying at my son’s place with access to no fabric except two jelly rolls in yellow and red, from jellyrollfabrics.com and some brown charm squares! No sewing machine either. So be it! Back to the old school and hand stitching.
I did the centre square in red, before I decided to do the corners.
I cut out some 1.25″ brown squares, folded them in half, placed them on the frame, and folded the edges of the pane on the square. Hemmed over it and voila! We are done with corners.
My camera settings were wonky, so I have a video of the corners, instead of a click. And I am unable to post videos from my iPad, so 🙁

I did think the brown squares were a tad smaller than comfortable! But the fabric miser that I am, I decided to stick to 1.25″ for the rest, because I was working with 2.5″ wide jelly rolls and 5″ squares, and did not want to waste any fabric:-)

But, I got some washable fabric glue and put a drop on the frame before putting the pane on it! Made life that much simpler.

20120725-193450.jpg
I did the edging in brown, and a kind of three window pattern in red!
I love it already, and want to stop right here! 20120725-203134.jpg
And I think I have arthritis developing in my right thumb. Can you get arthritis in a single joint? Not sure, so google google! It could be carpel tunnel syndrome, or osteoarthritis! Doctor son thinks it is nothing so fancy, all I have is iPaditis or Facebook-itis! Dear Husband thinks that the whites look shabby with all the seam joints showing.
It is meant as a gift for his sister, after all.

I go back to my design board ( that sounds fancier than the carpet) and try out different colour combinations on my windows – here are some of those:

20120725-194351.jpg

20120725-194434.jpg

20120725-194516.jpg

20120725-194552.jpg

20120725-194621.jpg

20120725-194649.jpg

But all of these were vetoed by the Husband and the Son as “too loud”,
And I finally decided to make something more ‘sober(?)’
While I was doing the panes, I saw some of the window corners had this pretty little four cornered flower where the folded corners meet. Where the rows and columns meet was an ugly mess, with even a pinhole! So I went ahead and sewed a tiny stitch around each joint, just so!

20120725-200220.jpg

20120725-200248.jpg

After several hours of sewing, interspersed with tending to a progressively sorer thumb, my Cathedral Window quilt is finally ready:-)

20120725-200516.jpg
Would I do it again? YES! Though, I would probably use a faster, simpler method now, like my fellow quilter Chumkie Mukherjee’s quilt along on our quilt forum desi-quilters.blogspot.com!
Here is another look at my little quilt before I sign off for today. I shall come back to this topic to share my learnings from this!

20120725-201054.jpg
…and a final look as the quilt finds its final home, on my sister-in-law’s sideboard:-)

20120726-164356.jpg

My Cathedral Window Quilt

Cathedral Window Quilt

  1. I cut thirty six 5″ base squares in cream fabric. (Warning – unless you are a serious small/ mini quilt maker, ensure your squares are at least 8″)

    Cut squares numbering – Number of Columns x Number of Rows
  2. Folded them and stitched along the shorter side. I took only a 1/6 inch seam here, as I was not working to any specific size. ( I goofed up and stitch a few along the longer side! My friend Jack – The Ripper – came to my rescue, again.)

    Fold squares in half, and sew on one short edge. Chain piecing is efficient!
  3. And then along the other side! Chain ’em up!

    Now sew the other short edge. With chain piecing, in no time, all the squares are done!
  4. Unchained them – set them free, but not for too long

    Unchained!
  5. Pinned each of them, seams lined up just so. I aligned the seams in opposite directions. You could also open the seams – it is suggested in quite a few tutorials.

    Bring together the two seams and pin. Sew along the raw edge, leaving a small gap.
  6. Stitched along the raw edge – leaving about an inch and a half to turn it inside out. Trimmed the corners and the threads.

  7. Turned the `pockets’ inside out.

  8. Use a toothpick to pick out the corners. Many people slip stitch to close the pockets. I did not. Now I had my 36 pockets ready – thoroughly creased 🙁
  9. Sorry , no pictures of this step – brought in the four corners to the centre and steam pressed! You could also finger press the corners to the centreJ

    This is what my squares looked like at the end of this!

  10. Back to the sewing machine! Stitched up the squares in pairs – along the pressing line on the flaps.

    I did not pin at this stage.

    I chain stitch wherever I can! But here I did take a `backtrack’ even while joining them in chains.

    Then I made rows of four. And I ironed the rows individually, taking care not to iron on the edges. In a few places I did manage to iron off the fold crease lines. I just ironed them back!

  11. Joined 2 rows, pinning is quite important here, I discovered.

    And then another!

  12. And so it came along nicely…

  13. So here are my 9 rows from the front. J

    …and from the back!

    So are the window panes ready for the stained glass? Not quite!

    I shall be doing the next steps after a few days – shall continue this post then! There are also lots of things I learnt through this – shall talk about those too in my next post!

    June 8, 2012
    I am just finishing the next step in my my cathedral window quilt…
    Joining the flaps – not doing a terribly neat job, I am afraid. But, more importantly, it is getting done!
    Now I have to wait for my fabric which I have ordered online to make the window panes!
    Wait for the next post….

20120608-162152.jpg

Post -Script: The story continues here 🙂

Windmill-Pinwheel Tutorial – Post 3

In the first post were the fabric requirements for this 15 inch block

In the second post, we sewed the basic units (quarters) of the pinwheel.

Now we get it all together!

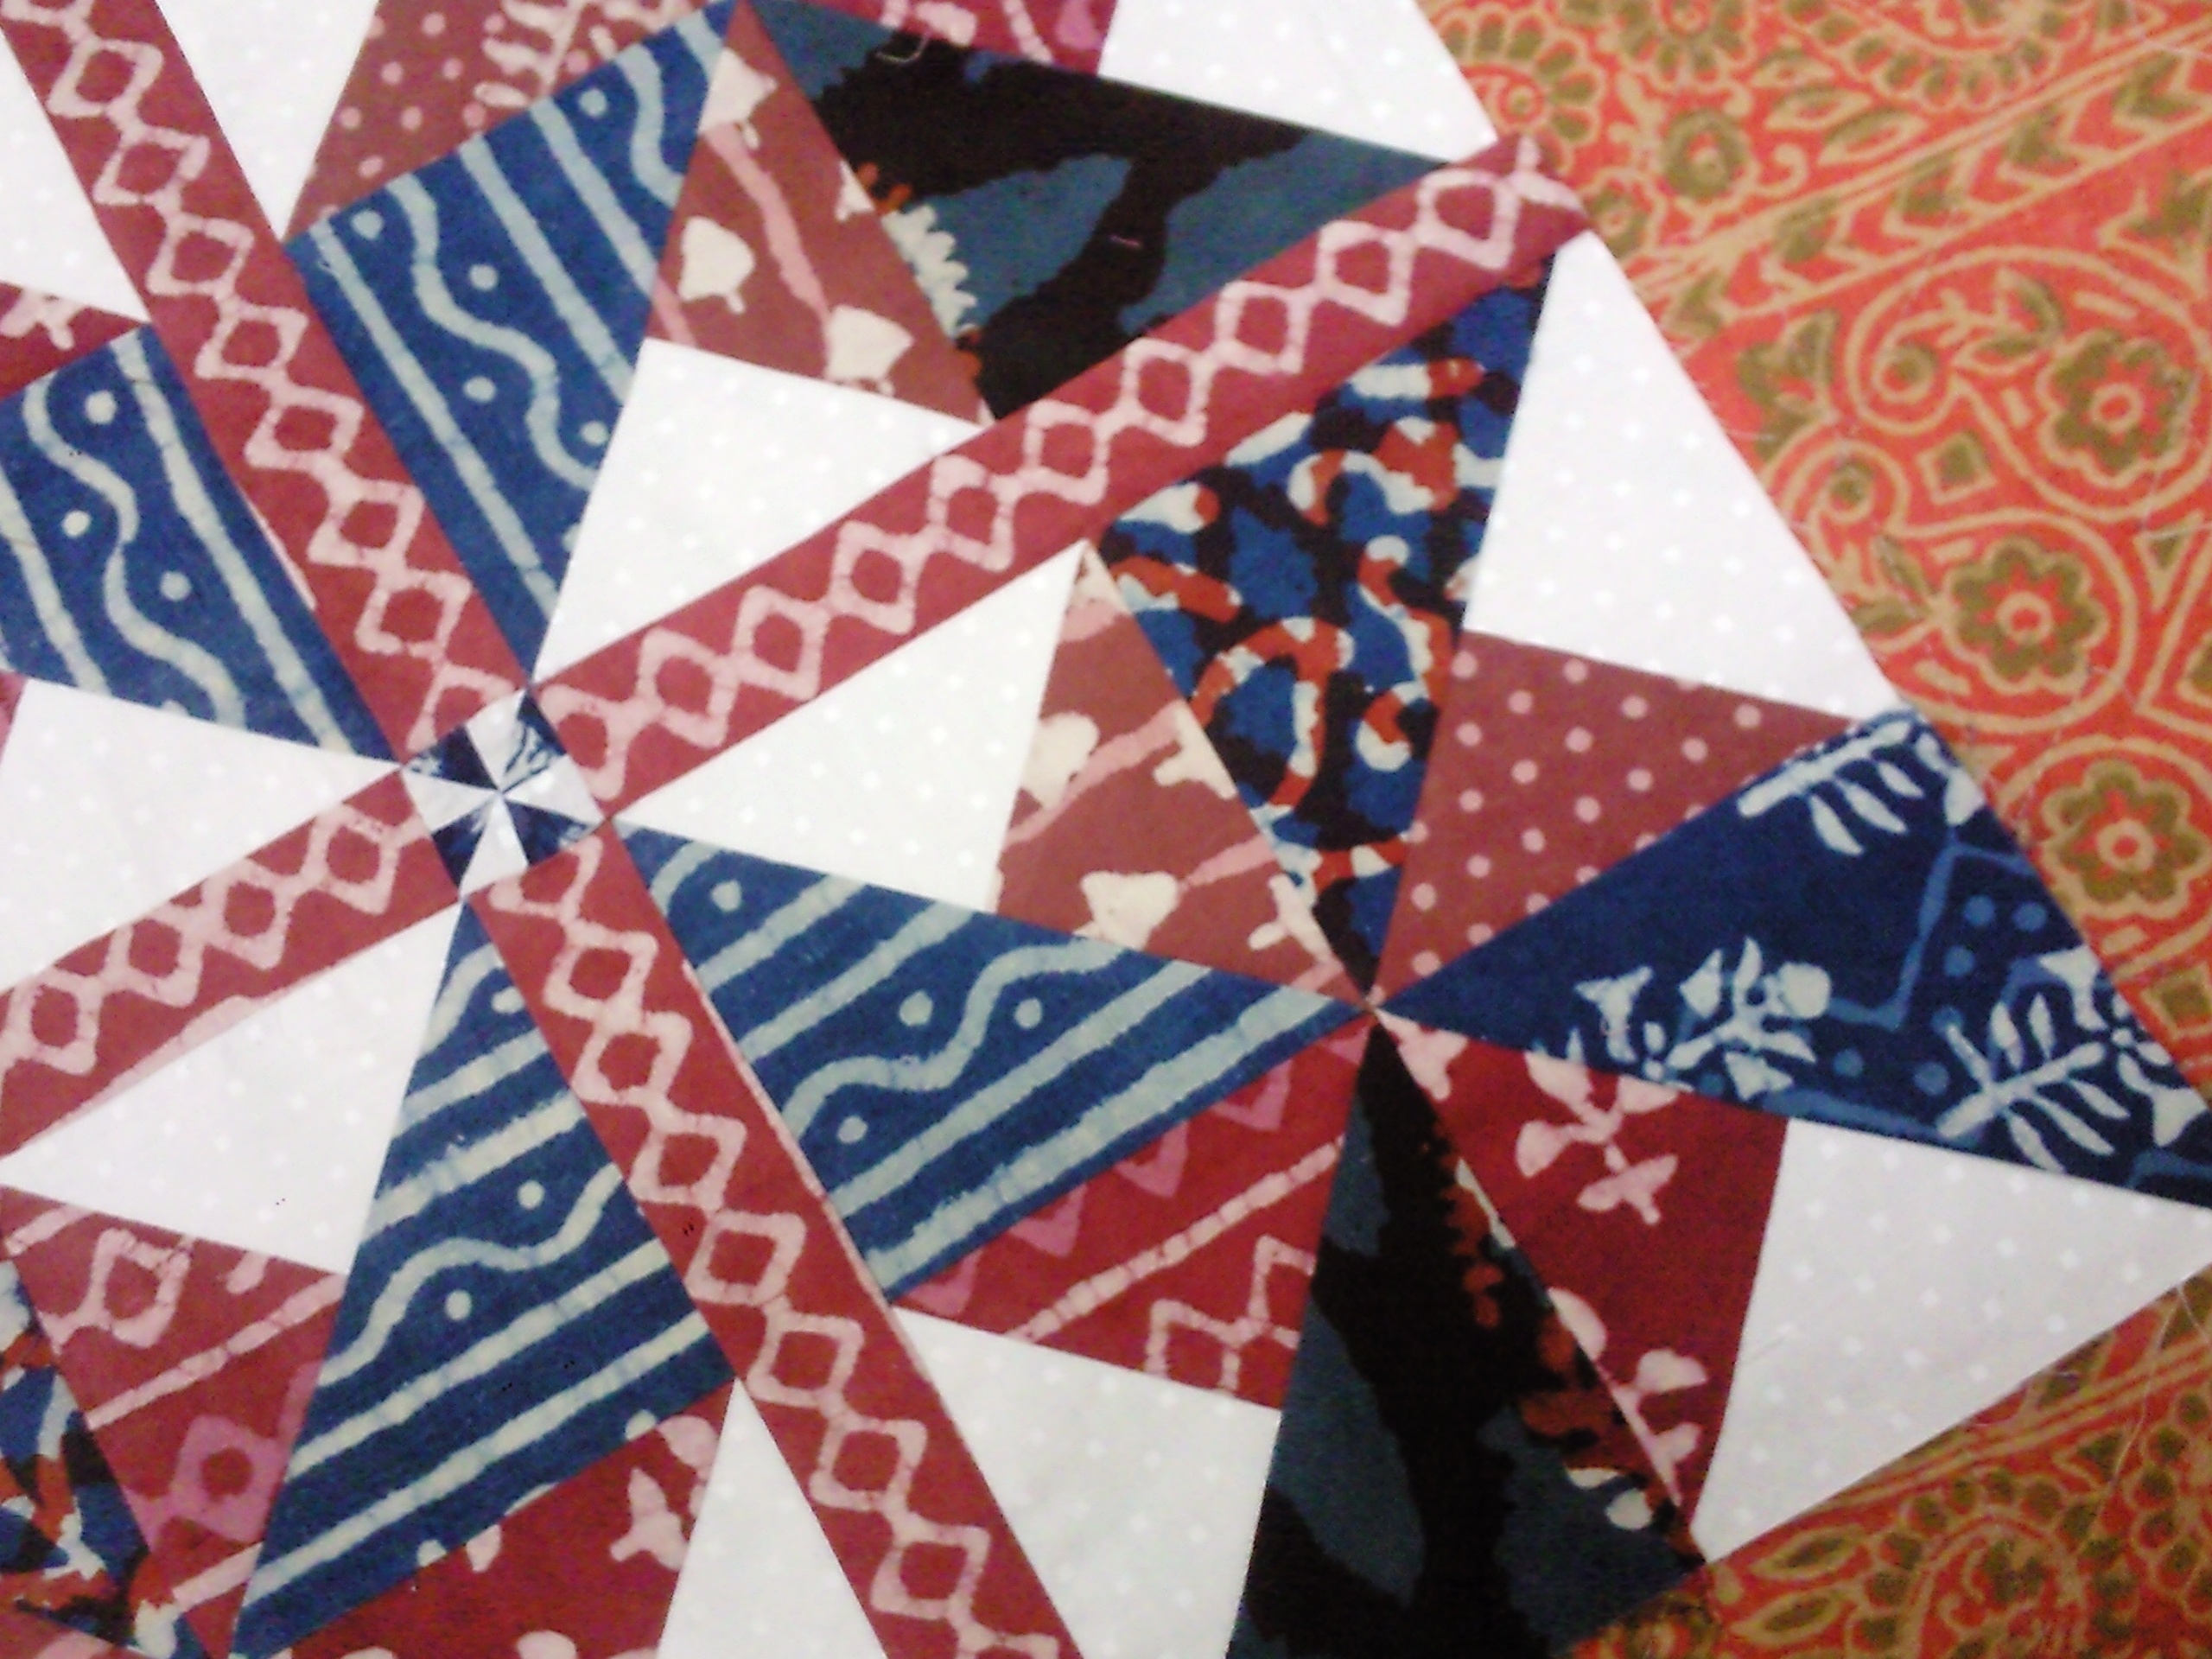
Step 3 – The NEWSy Pinwheels! So you think you can start making your pinwheels now, right? Wrong! For when you start putting them together – the wheel refuses to come together – the blades are pointing in all different directions – North East West and South! This is the `aha!’ moment (It was, for me!) You will have two sets of blocks – Set A with the red on the top and Set B with the white on the top. Sort them into two lots.

  • Sew together Set A blocks in pairs and make a pile.
  • Sew together Set B blocks and make another pile.
  • Press all seams towards the blue.

Set A – 8 pairs                      Set B – 8 pairs

One set makes the wheels clockwise and the other, anticlockwise! So you are on your way to two clockwise and two anticlockwise. Now comes the fun part 

Step 4 – Experimenting with Layouts You can layout the pairs and try out various lay outs like here –

I did not like the way these looked in the centre – it made the pinwheels kind of disappear. So I decided to add a sashing. Here I tried out white and blue sashing with different layouts.

I quite like the third layout but the blue sashing makes it all kind of mergeL

My final choice

Making the Pinwheels

  1. Lay out the final pattern you’ve decided on.
  2. Remember to carefully check that you are joining the seams correctly. I thought I was! But this is what my 4th pinwheel looked like :

    Oops! The white is supposed to be on the perimeter… so out came the ripper and I had to re-do it L

3.  After stitching the pairs together, you shall find that the centres do not lie flat!

Here is a beautiful solution at the piecmealquilts blog – explained so lucidly –

– http://piecemealquilts.wordpress.com/2011/03/26/pmgc-quilts-skill-builder-series-part-1-half-square-triangles-pinwheels/

And here is my pinwheel all ready!

Don’t you love the little pinwheel at the back?

Square up each of the four pinwheels to 7.5″.

End of Step 4 – You will have two pinwheels facing clockwise and two anti- clockwise – all 7.5″ square

Step 5 Centre Windmill

Once I had my 4 pinwheels done , I was ready to join them with a red sashing.

The Block of the month was supposed to be a windmill – but I had only pinwheels!

So, I decided to put a teenie-weenie windmill between the four sub-blocks.

Again – the rule – stitch big and square down to size. I began with 2 blue and 2 white 1.25 inch squares to make 4 half square triangles. (After joining them with a ¼ ” seam on either side of the dashed Line, I cut them along the centre pencil marked line)

I had 4 squares, which I joined first in pairs, before joining the pairs to make a tiny little windmill. I trimmed down my windmill to 1.5″ square (including seam allowance). Flipped it over and trimmed the seam allowances to about 1/6 of an inch before taking off a few stitches from the centre – allowing this teenie – meenie wheel to emerge. Isn’t it adorable!?J Step 5 Add the sashing The final block shall be 15.5″ (including seam allowances). And here it is – the final block! You can make it  into a cushion cover, or make more of these to make into a runner, a table cloth or a full sized quilt! Add a wider sashing between the blocks or use the same sashing – the possibilities are endless. Note: If you want to make a block of all clockwise or all anti-clockwise pinwheels – you’ll need to  make at least 2 blocks. Double the fabric requirements ( Post 1http://patchworkofmylife.com/2012/04/30/windmill-pinwheel-tutorial/) You’ll have one anticlockwise and one clockwise pinwheel.  Do write to me if a step is not clear anywhere. Happy Quilting!

Windmill – Pinwheel tutorial -Post 2

Pinwheel Block

In  a previous post gave the fabric requirements for my block.

http://patchworkofmylife.com/2012/04/30/windmill-pinwheel-tutorial/I 

So you have all your fabric together. Cut out and stacked. Now we see how to sew the basic units for the block.

How to put the block together will be in Post 3!

Step 1 The Double Coloured Half Square Triangle

Construction of the secondary Blade –

  • With a pencil mark a diagonal line on the wrong side of each of the white squares.


Tips – Put a fine emery sheet / sand paper below the fabric when drawing the line

  • Take each white square and layer it on top of a red square, right sides facing.
  • Sew each pair together with two seams, stitching ¼” on either side of the drawn diagonal line. I find it is better to be just a thread or two less than ¼”!


  • Cut across the diagonal line in the centre to make 8 units.


  • Press the seam (of the unopened unit ) to set it. A trick I have learnt is to keep the dark side on top when pressing the unit. Then when you flip it open, the seam is on the dark side!

  • Press the seam (to the dark side) – you have 8 (diagonally) red and white `triangle squares’

    .

  •  Now comes a very important step – squaring the unit. Place the 45 degree angle on the diagonal, and trim down the square to 5″.

(Theoretically, you could have started with a square about 5.25″ but I have learnt it is better to stitch a bigger unit, and trim it down to size)

At the end of Step One, you shall have two sets of 5″inch squares, red and white.

Step 2 The Basic Unit

  • I marked a diagonal on each of the eight blue squares by lightly finger pressing it, as a pencil mark would not show in it. I needed to be very careful not to stretch the fabric across the bias while doing this!


  • The next step was to pair the eight 5″ blue squares with the red and white triangle squares. One needs to be very careful that the diagonal on the blue square is perpendicular to the seam of the red and white TS


  • Sew each pair together with two seams (slightly less than) ¼” from the diagonal.
  • Before cutting across the diagonal, check your triangle square below again!
  • Once satisfied, cut to get 16 squares. Set seam with blue side on top and press open, seam on blue side!
  • Our basic unit is ready , except for the tedious part – trimming it down to 4″. So go get yourself a cup of coffee or check your facebook page before you settle down to the next step, where it really is very important to be accurate!

End of Step Two you have – 16 units:


  • Again… back to your ruler, the 45 degree line …this time, you have an additional 45deg line to crosscheck L …Now you will understand why I suggested you begin at 5″ and trim down to 4″!
  • You need another break after your 4″ units are ready to your satisfaction all angles 45 and 90 degrees and all corners perfect!

In the next post, we shall be putting together these units into pinwheel blocks.