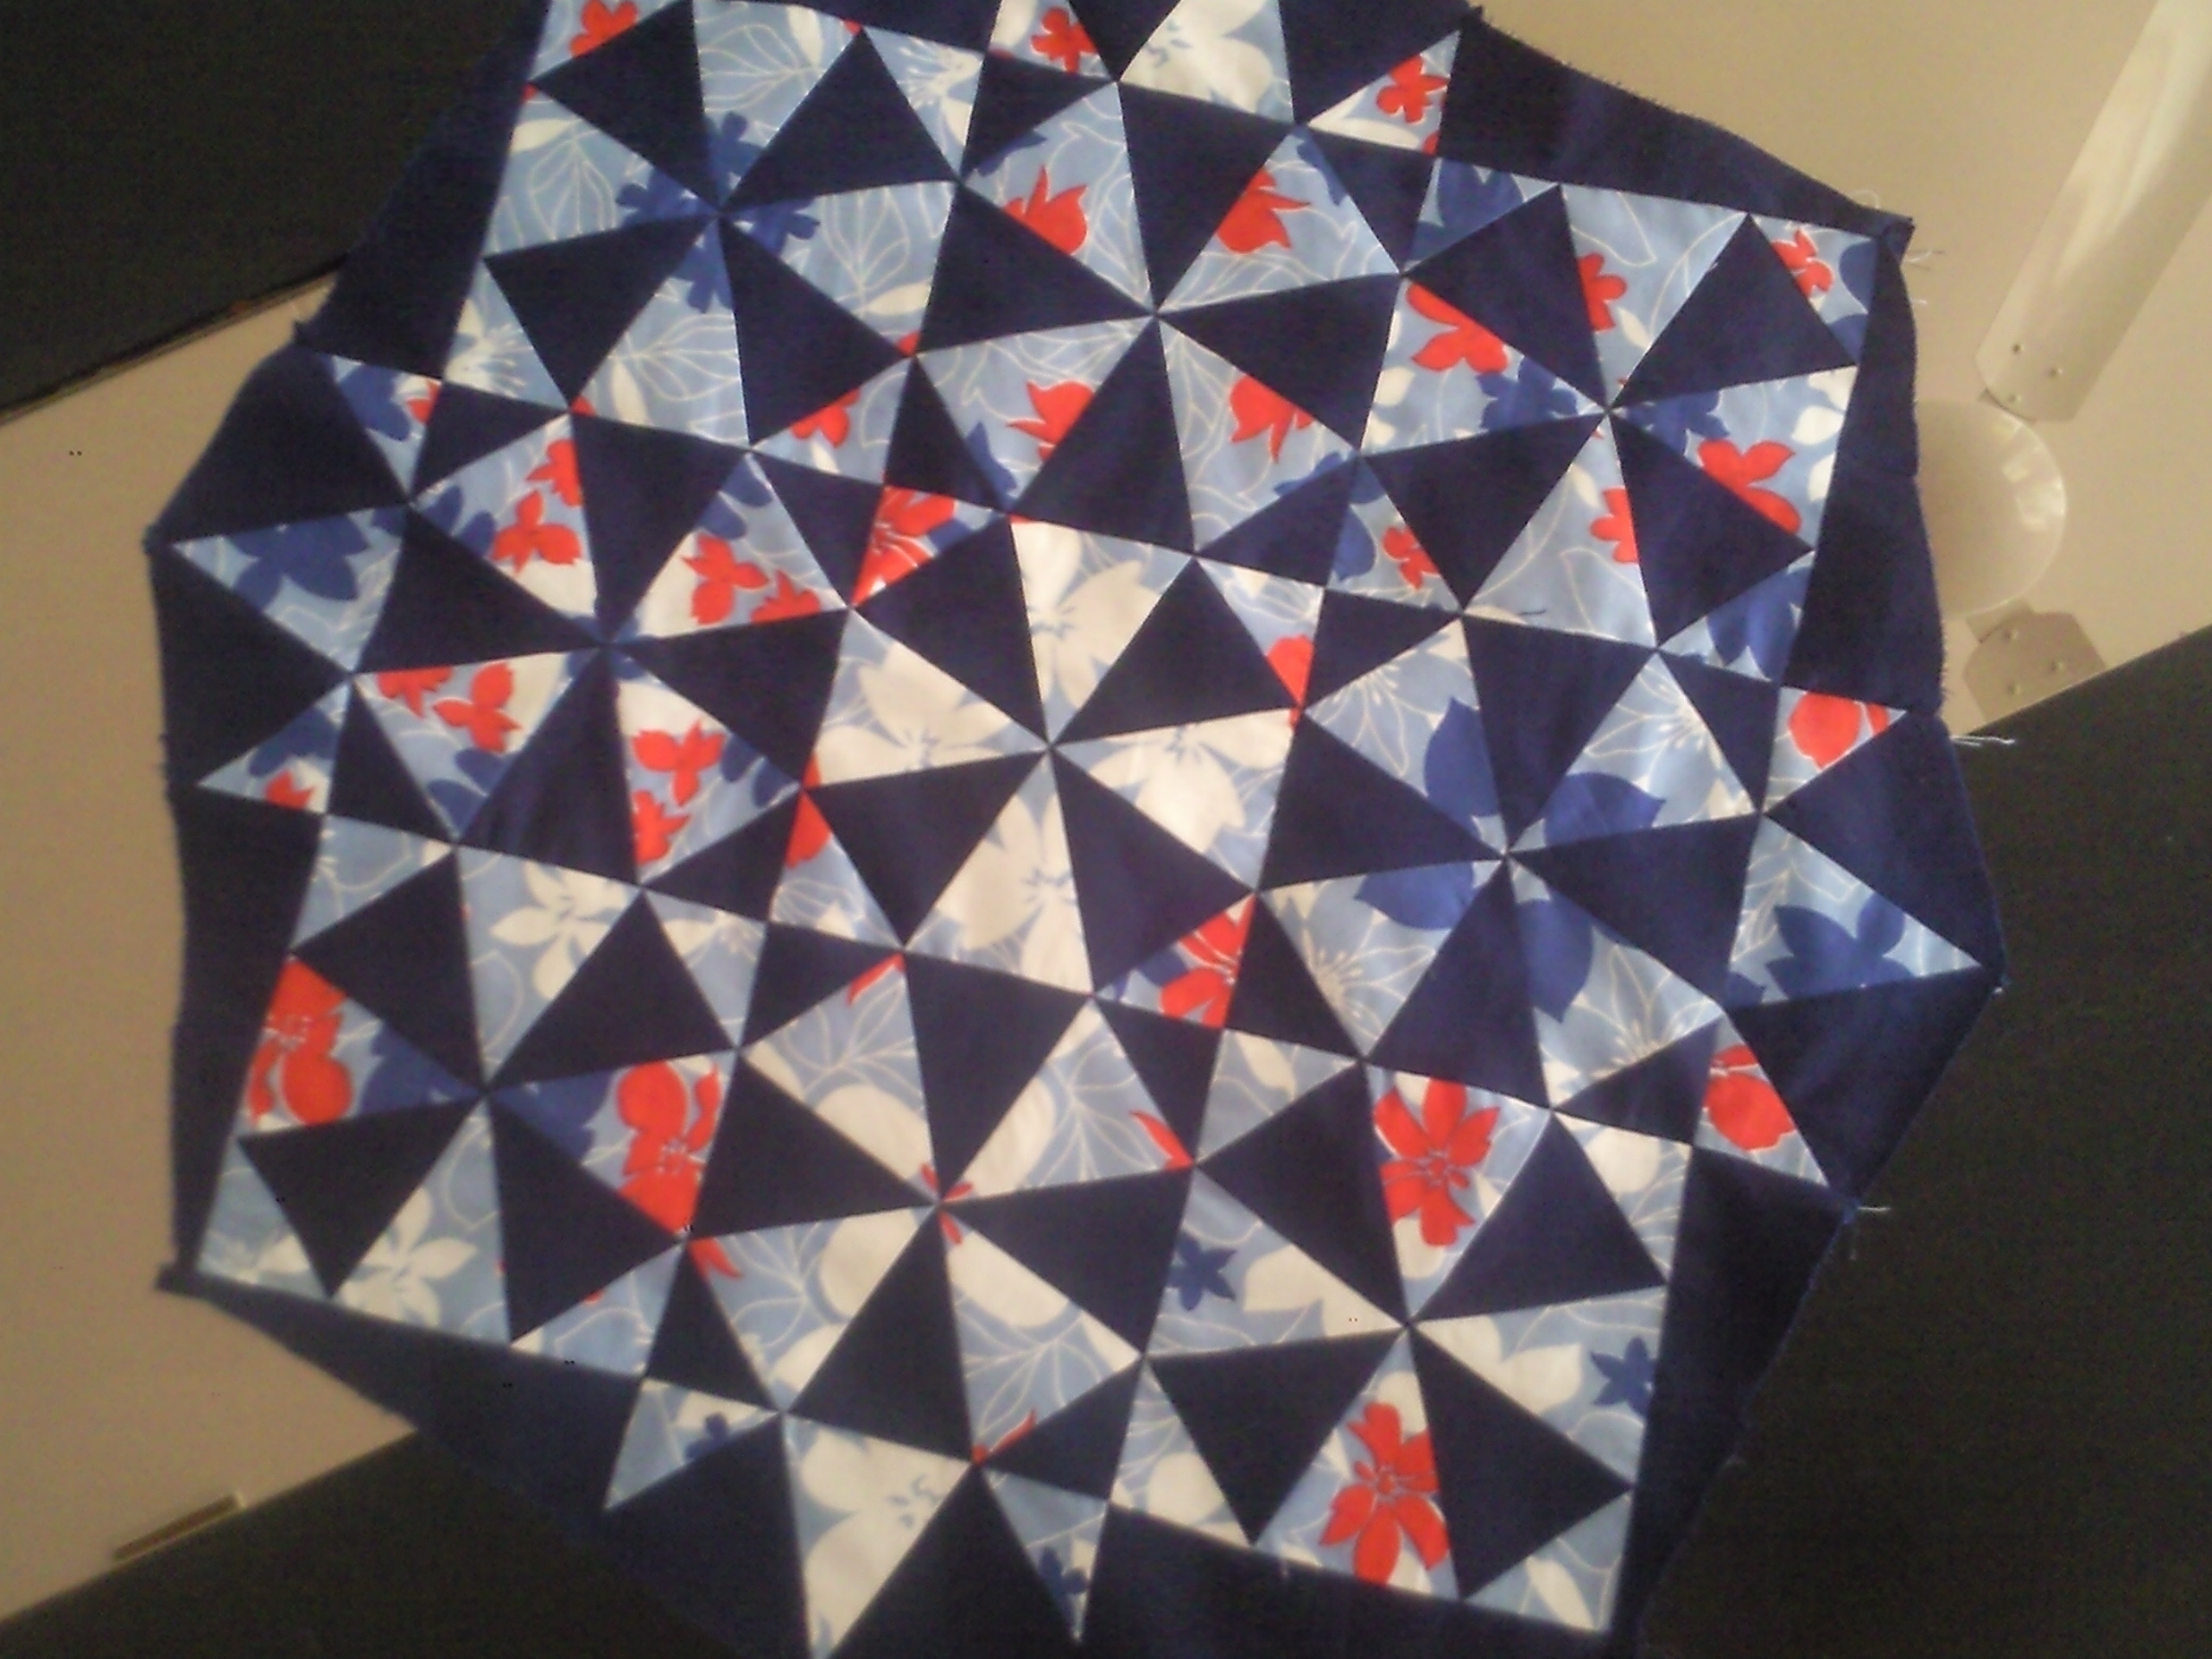
Windmill- Pinwheel tutorial : Post 1

Windmills of Your Mind…

…Like a circle in a spiral
Like a wheel within a wheel
Never ending or beginning, 

On an ever spinning wheel

As the images unwind
Like the circles that you find
In the windmills of your mind…

( Original Song sung by Noel Harrison)

I am currently doing a BOM (Block of the Month) that shall add up to a charity quilt at the end of the year.

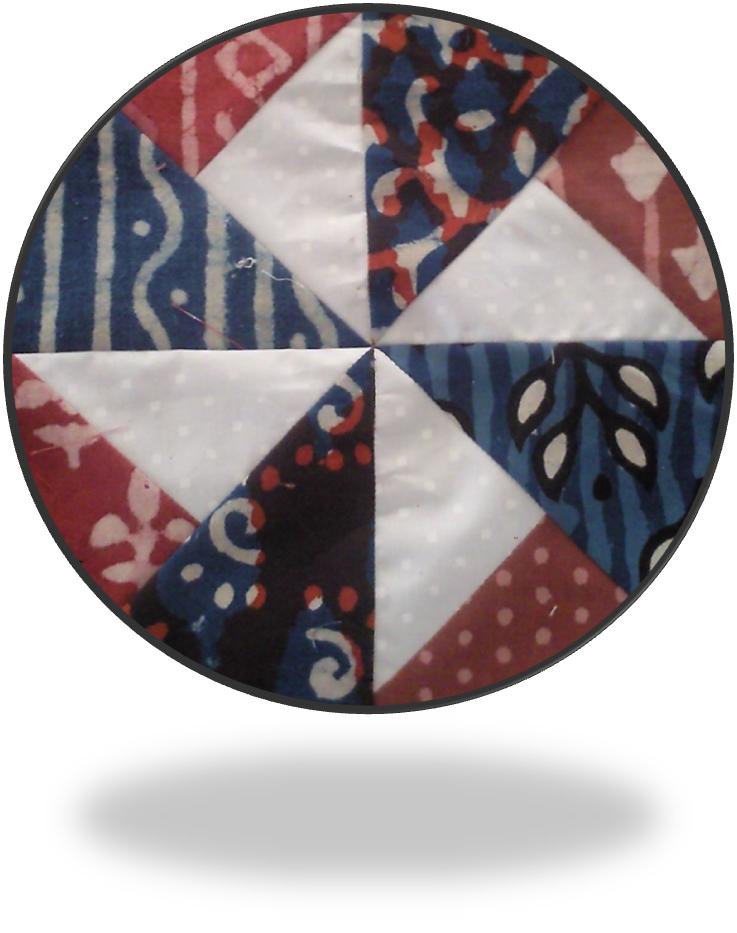
The first block (March 2011) was the Windmill Block – which I thought was another name for the Pinwheel Block! It is only now that I discovered that they are not the same! The Windmill Block is at Fig A here, and the Pinwheel Block at Fig B.

A.Windmill Block                                                                        B. Pinwheel
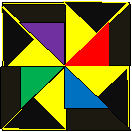

Pinwheel variations

These Blocks  show variations of the pinwheel Block. You can see how choice of colours/ dividing the component triangles in various ways can give a totally different look to each of the Pinwheel blocks.

Designing the Block

I decided I wanted to make a 15″ (ready) blocks for the BOM as there would be 12 blocks only – in a 3X4 setting it would be a 45″ X 60″ quilt. With sashing and borders , could be stretched to 60 X 75 – a reasonable size.

I decided on a simple Pinwheel Block with four pinwheels separated by a sashing – something like this!

Don’t you like the two secondary pinwheels in pink and yellow emerging in the centre?

But for reasons explained later, I had to add a sashing. My final block ( for which instructions are given) looks like this

Pinwheel Block

Fabric requirements

I would need 2 dark colours and a contrast light colour. I decided to use red and blue as the dark, with a contrast white fabric.

For the 4 Pinwheels

4 squares of red (the secondary blade)5.5″ X 5.5″

4 squares of white (the secondary blade) 5.5″ X 5.5″


8 squares of blue (main blade) 5″ square


For the sashing

4 strips (I used red) 1.5″ X 8


For the Centre Pinwheel

2 squares 1.5″ white

2 squares 1.5 ” blue

See how how make the basic units-http://patchworkofmylife.com/2012/05/10/windmill-pinwheel-tutorial-post-2/
See how you put the block together –http://patchworkofmylife.com/2012/05/10/windmill-pinwheel-tutorial-post-3/


Just Takes 2 Quilt – Favourite Blocks

Here are two of my favourite blocks from the Just takes 2 quiltalong -(http://justtakes2.com/about-the-quilt/)

Feathered Star

Loved this block – and the way it magically emerges from the nine patches.  First time I did y-seams too, were quite simple! This block really was not as intimidating as it looks, because the perfect instructions. I did make the corner squares 1/8 inch smaller than the given instructions,  benefiting from the experience of a fellow participant. Everything fell beautifully into place 🙂

Just Takes 2 Quilt - Feathered Star

Isn’t it a striking looking block? Maybe, one day, I’ll do a full quilt! Meanwhile, here is a close -up of one of the arms.

Close up of feathered star (Just takes 2 quiltalong)


This is machine pieced (not foundation pieced, and no hand piecing)

Eight Point Star (November Star?)

This block is hand pieced. And I did not add the seam allowance when cutting the pieces from the template! Which meant that the diamonds (with 4 angular seams) would not really fit into the triangles (with 3 angular seams) and squares (with 2 straight seams) . I managed to put it together with 1/8 inch seams in some places and 1/6″ (?) in others. My red ripper proved to be a great friend!

This also meant that my star was about 4″ instead of 6″ 🙁

I decided to add a red and grey border to it to bring it to size.

Here is a view of the wrong side –

Wrong side of 8-point star block

Have you seen anything untidier? But I do love the little star in the middle!

And the right side was not so bad after all.

8 Point Star

The centre is not really a point – more of a swirl – but I don’t mind that at all. This is my `Framed Whirling 8-Point Star’ 🙂


RECYCLING – Convert a Couple of Old Favourite Silk Sarees to a pair of quilts!

Recycle 2 sarees to make a pair of coordinated quilts 60″ X 80″ or larger!

Often we have favourite silk sarees – which become unwearable over time – or get a tear or two. They cannot be converted to salwar kameezes either. Or may be you just have had enough of them, and do not wish to wear them any more!

What better way to continue to enjoy a pair of sarees than make it into a pair of quilt tops over an afternoon? J

Sarees are usually about 40- 44 inches wide and between 5 metres to 5.5 metres long (200- 220 inches). This includes a `pallu’ which may be any size – rarely more than 40 inches long. For the purpose of this tutorial, we shall take 2 sarees, which are

40 inches wide

200 inches long

40 inch pallu

Remember, you have a lot of flexibility while working on this, so do not worry if your saree measurements do not match with what I have taken! In this example I have taken sarees with borders – we can also use sarees without borders.

Take the two sarees and closely examine them for any fraying, wear and tear and cuts. Pin a small piece of paper or stick a `read me’ notepaper near the damaged portion. You can always work around it!

Saree A                                                                               Saree B

Step 1. Cut the pallus and place aside. We may need to use them later, especially if the saree is damaged.

Step 2

Cut the main saree lengths into two along the width as shown.

You shall end up with 4 lengths approximately 80 inches long.

A1                                               B1                                     Pallus A, B

A2                                                         B2

If the saree is damaged, work around to get an 80″ undamaged length (B1 in the illustration below)


B1

Step 3

Now comes the fun part!

  • Cut A1 (Saree A) lengthwise along the centre – vertically – into two equal lengths.
  • From B1 (Saree B) cut strips (including border) approximately 8-10″ wide from either side

A.1.1             A.1.2                      B.1.2         B1.1          B1.3


Step 4:
Join them so! You shall have two quilt tops approximately 60X 80 inches in size


A1.1        B 1         A1.2                B1.2      A2     B1.3

Step 5

You have several options to lengthen the quilt, if you wish to – add the pallu, or undamaged portion of border from Saree B! Use your imagination to make your own, unique pattern J

You could also incorporate the pallu in the centre, and stitch around it! And make matching cushion covers from the left over fabric.

But remember, when working with old sarees, and silk ones at that, the fewer seams you have the better! Also, the golden rule about a quarter inch seam is not valid while working with silks. You may want to take a half inch seam, or even a` French seam’ .

Use an old cotton saree to make the backing. Quilt it yourself if you will – or `bag’ it (stitch three sides of the top to the backing) and give it to the razai walla to fill and quilt!

Here are my pair of quilts. Since the sarees were badly damaged, I had to incorporate the pallu. I used an old cotton saree to back one of the quilts and had them filled and quilted in the market.


Quilt for a little girl

I designed and made this little quilt for my little grand niece.

It is a number / counting quilt – also a land, sea, air quilt – made with silks and satins and oodles of love. Anyone is free to copy it in any which way they like.

What I did not submit for the March Quilting Challenge

The Challenge was to use two fat quarters of fabric (18″ X 22″) – one printed and one solid fabric and nothing else.

I decided on a kaleidoscope block pattern because it would really be able to show off the print.

Initially thought I would made a small runner, but it kept growing.  Till I had 8 pairs of `half blocks ready for a 4X2 runner. But I had fabric left over for a ninth block and a 3X3 square runner!

Here  are some pics of the various options I tried out

1. I made 8 blocks and thought I would use the print itself in the centre. I tried two ways of putting them together – but did not care for either – because the secondary pattern (the circle was not really emerging

IMQG March 12 Challenge (?)

2. So, I decided to make another pair of  kaleidoscope half-blocks and explore another option

IMQG March 2012 Challenge(?)

3. But I still had fabric leftover and decided to emphasize the secondary circle  and finished the blocks – and use this setting.

Here the secondary patterns can be clearly seen. I love this!

So now I wanted to quilt this and bind it and not submit it as a tablecloth for the March 12 Challenge.  And I set out on a new project!