I still do not have enough background fabric for all my Round the Year quilt block circles, but I have started working on them in any case. The first block that I finished is Block Thirteen, the “Feathered Star”.
One done, fifteen to go!
Those of you who are making the block may have noticed that I have reversed the background of the square, so that light part of the circle is highlighted against the dark background and vice versa. The first pic below shows the way it was planned and the second shows how it was finally joined.
Decided to go with Option 2 as it would show up better in the final layout of the quilt!
This is the only block circle that was made in sixths of a circle, so the background squircle ( being equal to square minus circle) was cut in 6 pieces. Each was joined to a wedge. The wedges ( including respective background) were joined in threes to make one half of the square and then the other.
I pressed the seams in a whorl, clockwise, to reduce the bulk in the centre!
The seams are pressed all in one direction to reduce the bulk at the centre.
You must be wondering which layout I am finally using for the quilt? Here it is! Layout Option 3, which finishes at 100″x 100″.
The background will use three shades of blue, the deepest at the edges of the quilt and the lightest in the centre. (Shouldn’t it be the other way at dusk? Light at the edges and dark in the centre? Artistic licence – the blocks show up much better against a light background!) I have enough of the deep blue; it is the lighter blues that I ran out of, as I used them up to make my “Seasons in the Sun” quilt. I will calculate exactly how much fabric to order after using up what I have at hand.
Please admire the almost perfect centre of my feathered star, while I go off to cut fabric for the Venus and Sapphire blocks! They are the only ones joined to the backgrounds in eighths, if I remember correctly!
I have always found the glorified 9-patch, which is a nine patch in a circle, very pretty …as also the Pickle Dish block! I drafted this block for my Round the Year quilt, combining the two in one, though this is not truly a pickle dish, and the block looks like a thorny 9-patch to me! So that is what I plan on calling it – the Thorny 9-patch or perhaps the Crowned 9-patch. Unless you can think of something that sounds nicer?
This was left out of the final sixteen that made the cut, as were some others. It would be nice repeated all over in a quilt too, methinks! I have made one for my Rainbow quilt, which I plan to do with just eight blocks. Meanwhile, I search for appropriate fabric for the background – the squircles, as I like to call them. I like the idea of using Moda’s Zen Chic Ink ( or Paper) Handwriting or Notes or even Newsprint. The logistics of buying it is not working for me right now. So, I guess this quilt will have to wait.
I now finally start working on finishing the Dusk quilt. Will keep you posted on the progress!
Meanwhile, will you help me decide which of the two placements of the thorny crowns you like better? I prefer the second, I think!
I had promised you a guest blogpost from Sobana Sundar, who has squared up all the circles for her BOM blocks! If you have not seen her beautiful blocks, you must!
Without much ado, I hand this over to Sobana Sundar :
Any jewel is defined by its setting – so too your blocks need that final touch of being set into squares before they can become a quilt top or wall hanging. The Round the Year block circles measure 15.5 inches and are to be set into squares that are 18.5 sq.inches.
The following blocks can be set using the ‘squircle’ templates provided by Madhu along with each block. They are all not identically set as some finish up with six pieces, some four but they join up easily as long as you patiently pin them and sew slowly using 1/4″ seam. (I copied out the template to freezer paper to avoid repeated tracing on the fabric.)
Block 2- An Evening at the Pond,
Block 4 -Sapphire Fire,
Block 5- Venus,
Block 12- Dozens Squared,
Block 13- Feathered Star and
Block 14- Fractal Mandala
The rest are circles and have to be appliqued to the square, if you have a lot of patience and time to do that. Personally I can never be happy with my stitches when I applique, be it button hole or a hem and I definitely do not have the inclination to spend long hours hand appliqueing the circles to the squares.
So I chose a method that I have used before using Freezer paper, a method where there is very minimal sewing and still one gets a lovely block. I learnt it from this tute here– and did this whole quilt with it .
Another bonus about using the freezer paper method is that one can square up all the blocks using the square template if one does not have a 18.5″ square ruler. I have only a 12.5″ square ruler and hate making the bigger size blocks for fear of ruining them while squaring with a smaller ruler. And here I just pressed the freezer paper template and trimmed away the extra fabric on the blocks I finished using Madhu’s templates.
There are some adaptations to be made to use it – for simplicity sake I will call it the port hole method (as named by Desi Quilter Tina Katwal) – for our finished circles. This method is normally used to make Drunkard’s Path quadrants and once the background circle is prepped, one attaches a piece of fabric that is generously bigger than the circle. However, here we have already finished circles so some attention is required to properly attach the square and the circle.
And here is a photo trail to explain the how-to…
Start by cutting a 18.5″ square from your freezer paper. The paper rolls available in the market are usually 18 inches broad so you will have to cut out another piece of freezer paper that is 18.5 x 1 inch and iron/ glue it to get it to the size we require. Fold it in four find the centre and then draw a circle with a diameter of 15″ – not 15.5″ – on the paper side (as opposed to the shiny side). I used a quadrant template (that you can download from the link at the end of this post ) to mark my 15″ diameter circle and cut it out.
Cut 15″ circle from centre of 18.5″ freezer paper square. The ready template…
Iron the freezer paper to your background fabric and cut the18.5″ square.
Cut a 18.5″ square from your background fabric and iron the freezer paper on it.
Draw a circle on the fabric. This should be about 3/4″ away from the circle on the paper. See the next photo for clarity. I just followed the circle on the paper to draw this. But you could use a big plate from your kitchen. It does not need to be perfect and you will see why soon.
Draw a circle on the background fabric, approximately 3/4″ inside the `porthole’. The next step is to cut out the fabric along the lines we drew in the last step. You are going to have a lot of circles in the background fabric which you can use for another project.
Cut out the circle on the drawn line… Make little snips on the fabric as in the photo below. Do not cut till the edge of the paper. Stop when you are about 1/8 of an inch from the paper.
Snip the fabric upto 1/8″ from paper edge Apply a thin layer of glue using your glue stick along the edge of the paper and fold back the snipped fabric so that it is flush with the paper edge. Use your iron and press to keep it in place.
Apply washable glue stick on snipped edge and fold it back on to the paper.
Centre your finished circle on the freezer paper again on the wrong side, making sure it is evenly placed. Apply glue again along the edge of the folded back fabric snips and press your circle in place with your iron. I missed taking a photo of this stage. Remember to keep your finished circle right side down.
Centre the finished circle thus,.using glue stick to attach the edges to the snipped edge of background.Turn it over and ensure your placement is correct and the glue holds the two pieces of fabric together. Now at last we get to use the sewing machine. Remove the freezer paper gently pulling it away. You may have some problems if the glue has adhered too firmly but a tug will release it.
Remove freezer paper Change to zipper foot and with needle position at extreme left stitch along the crease. Make sure you cross over your starting point to secure your circle totally.
Sew on fold … This is how it looks once you are done.
Done! And after a press on both sides you have your finished block. And you can start work on the next block with the same freezer paper. I did about four blocks a day. If I had hand sewn it would have taken me two days to do a block.
Easy and perfect!
The beauty of the freezer paper is that you can reuse it. I did all my blocks with that one freezer paper and also trimmed the other blocks not made this way to size. And I think I will preserve it for the next 18″ block I make! Here are some of the finished blocks made with freezer paper.
Some of the blocks finished using freezer paper method.
Sobana
These are gorgeous, Sobana!
Thank you so much, Sobana! That sounds simple enough! You can view more of Sobana’s work on her blog, The Quilt Bug.
I have still not got my background fabric, so am doing other stuff these days…And, as promised, here is the template for a 7.5″ radius circle! Happy Quilting.
What can be more thrilling than seeing your designs coming to life?
Sobana Sundar has finished piecing all her Round the Year blocks. She has also joined the majority of them to the background, something I am yet to do, as I wait for the fabric to arrive from the USA.
Aren’t they gorgeous? What is more, she has promised to do a guest post for this blog, telling and showing us the techniques she used to join each circle to its squircle. So, please stay tuned in!
Am I excited and relieved at the same time, or what, to present the sixteenth and final block of the DreamcatcherRound the Year Quilt !?! This 24-spoke Mariner’s Compass is foundation paper pieced and is, like the other blocks of this Block of the Month quilt, drafted as a 15″ (finished) circle set in an 18″ (finished) square. I learnt to draft this block from a workshop by Adina Sullivan, “Mastering the Maddening Mariner” in “Quiltskills – Workshops from The Quilters’ Guild Australia” (published by The Patchwork Place, 1998). Adina has the most fabulous quilts based on the Mariner’s Compass and I had been gathering the courage to attempt these since the last six years or so, when I bought this book. You may recall that Southward Bound was also drafted using the method taught by Adina. She uses the English paper piecing method to construct her blocks, mine is completely machine pieced!
Please note that the downloadable patterns with paper piecing templates and instruction files for the Dreamcatcher Round the Year quilt blocks are being migrated to my store MadsPatch and will not be available for download for free from 15th November 2020 onwards.
I used Quilt Assistant, a great free quilt design software for designing the block. The pattern instructions and paper piecing templates can be downloaded in PDF format from the links at the end of this post.
Fabric Requirement
Fabric Code for Mariner24
This block uses 2 shades of blue and 4 contrasting colours in the yellow-gold-light orange spectrum for the Compass, set in a third shade of blue for the background.
Trivia – This block contains 269 pieces! But don’t worry, we will be working with strips, so that you need not worry about cutting dozens of pieces.
Fabric Code
Colour
Fabric Required
Cutting Instructions
1
Pale Blue
19″ square*
2
Medium Blue
6″ WOF
Cut 3 strips WOF 2″ wide
2 squares 4.5″
Cut along both diagonals to get 8 QSTs
3
Deep Blue
6″ WOF
Cut 3 strips WOF 2″ wide
4
Deep Orange
3″ x 30″
5
Gold
3″ x 30″
6
Yellow
3.25″ x 30″
Cut into strips 2″ x 30″
1.25″ x 30″
7
Light Orange
3″ x 24″
*I have given a template for joining the background by piecing, but for this block I suggest appliqueing the compass on a square.
Do remember to spray starch and press your fabric before cutting it. I do not have access to spray starch, so I make my own by adding two capfuls of the locally available liquid fabric stiffener (sold by the name of Revive) to 100ml of water in a spray bottle.
Your best friend when piecing – spray starch!
Printing Instructions
Print the Templates File at 100% / actual size in portrait mode. Cut out the templates. I suggest you ignore the background template AG( in two parts), as we will be appliqueing the compass on a background square. It may prove useful for marking the circle on the background fabric.
Print the Instructions File, which includes the Fabric Requirement chart and Master Template, and keep at hand for piecing and assembly.
Step by Step Piecing Instructions
If you are attempting a block from this quilt for the first time, or even if you have not foundation paper pieced for a while, you may like to see this blogpost for decoding the paper piecing patterns for this BOM and this one, which reminds you of certain do’s and don’ts for paper piecing these blocks. If you are new to paper piecing itself, there are several great tutes online on the subject!
Outer Ring
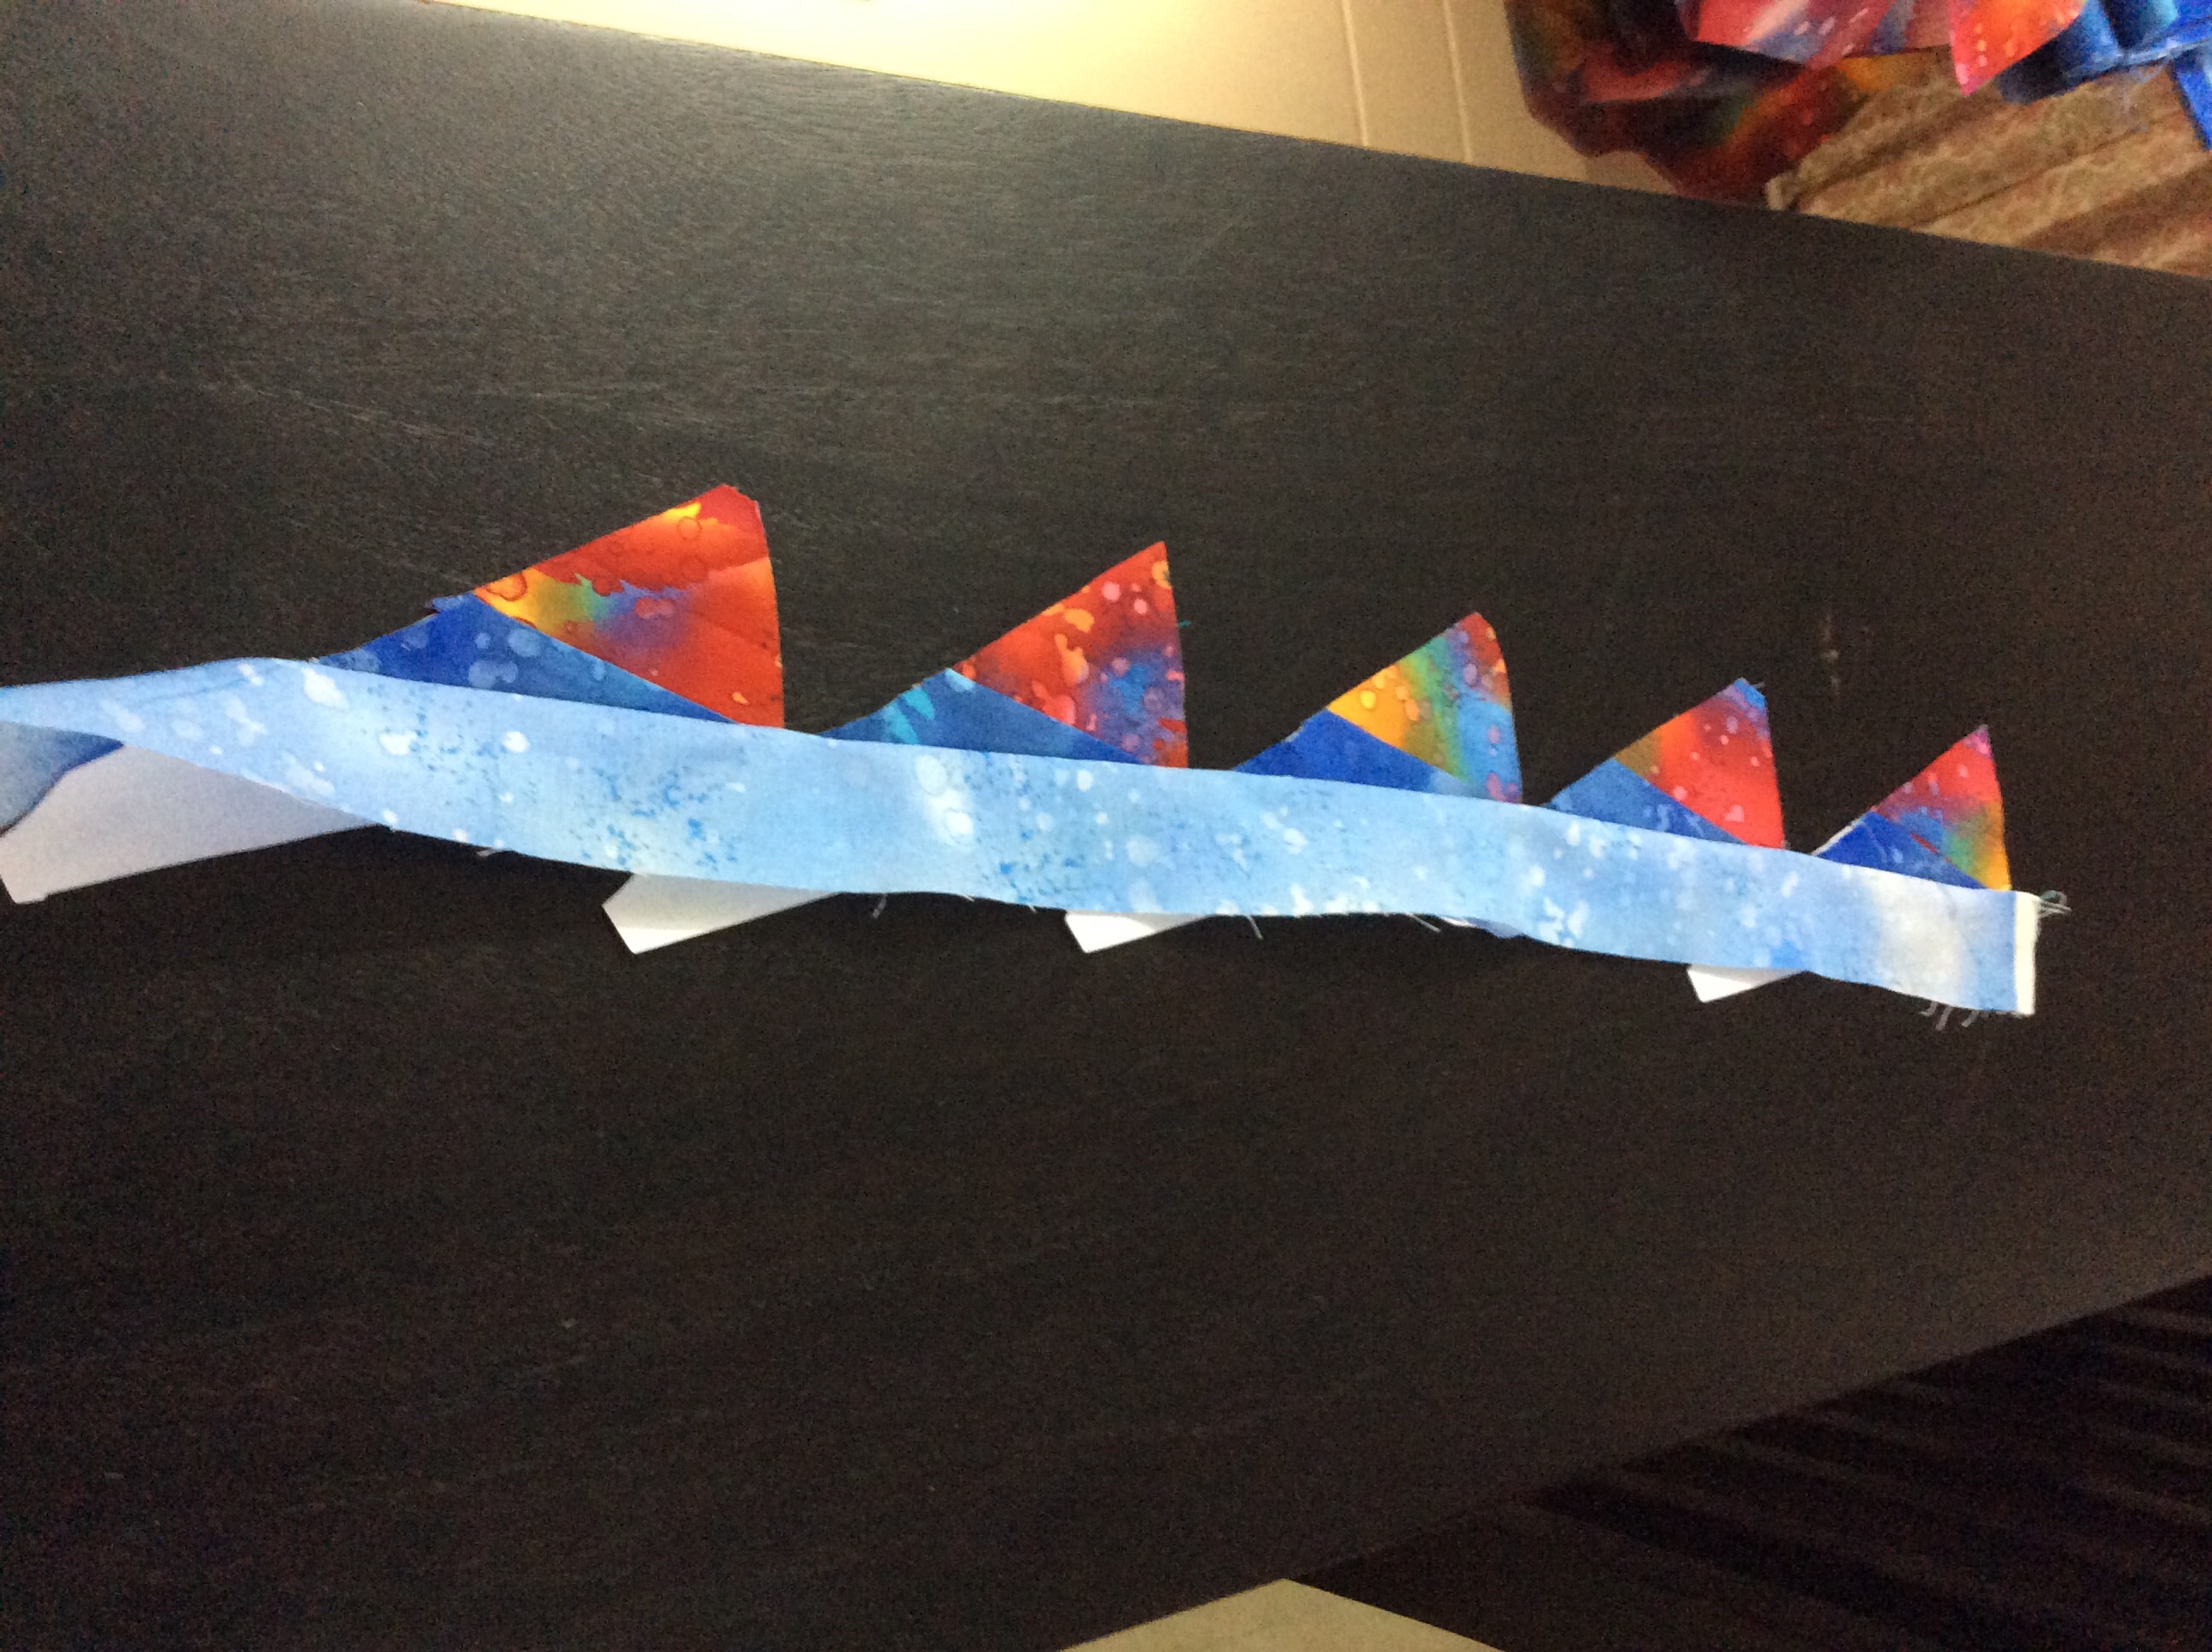
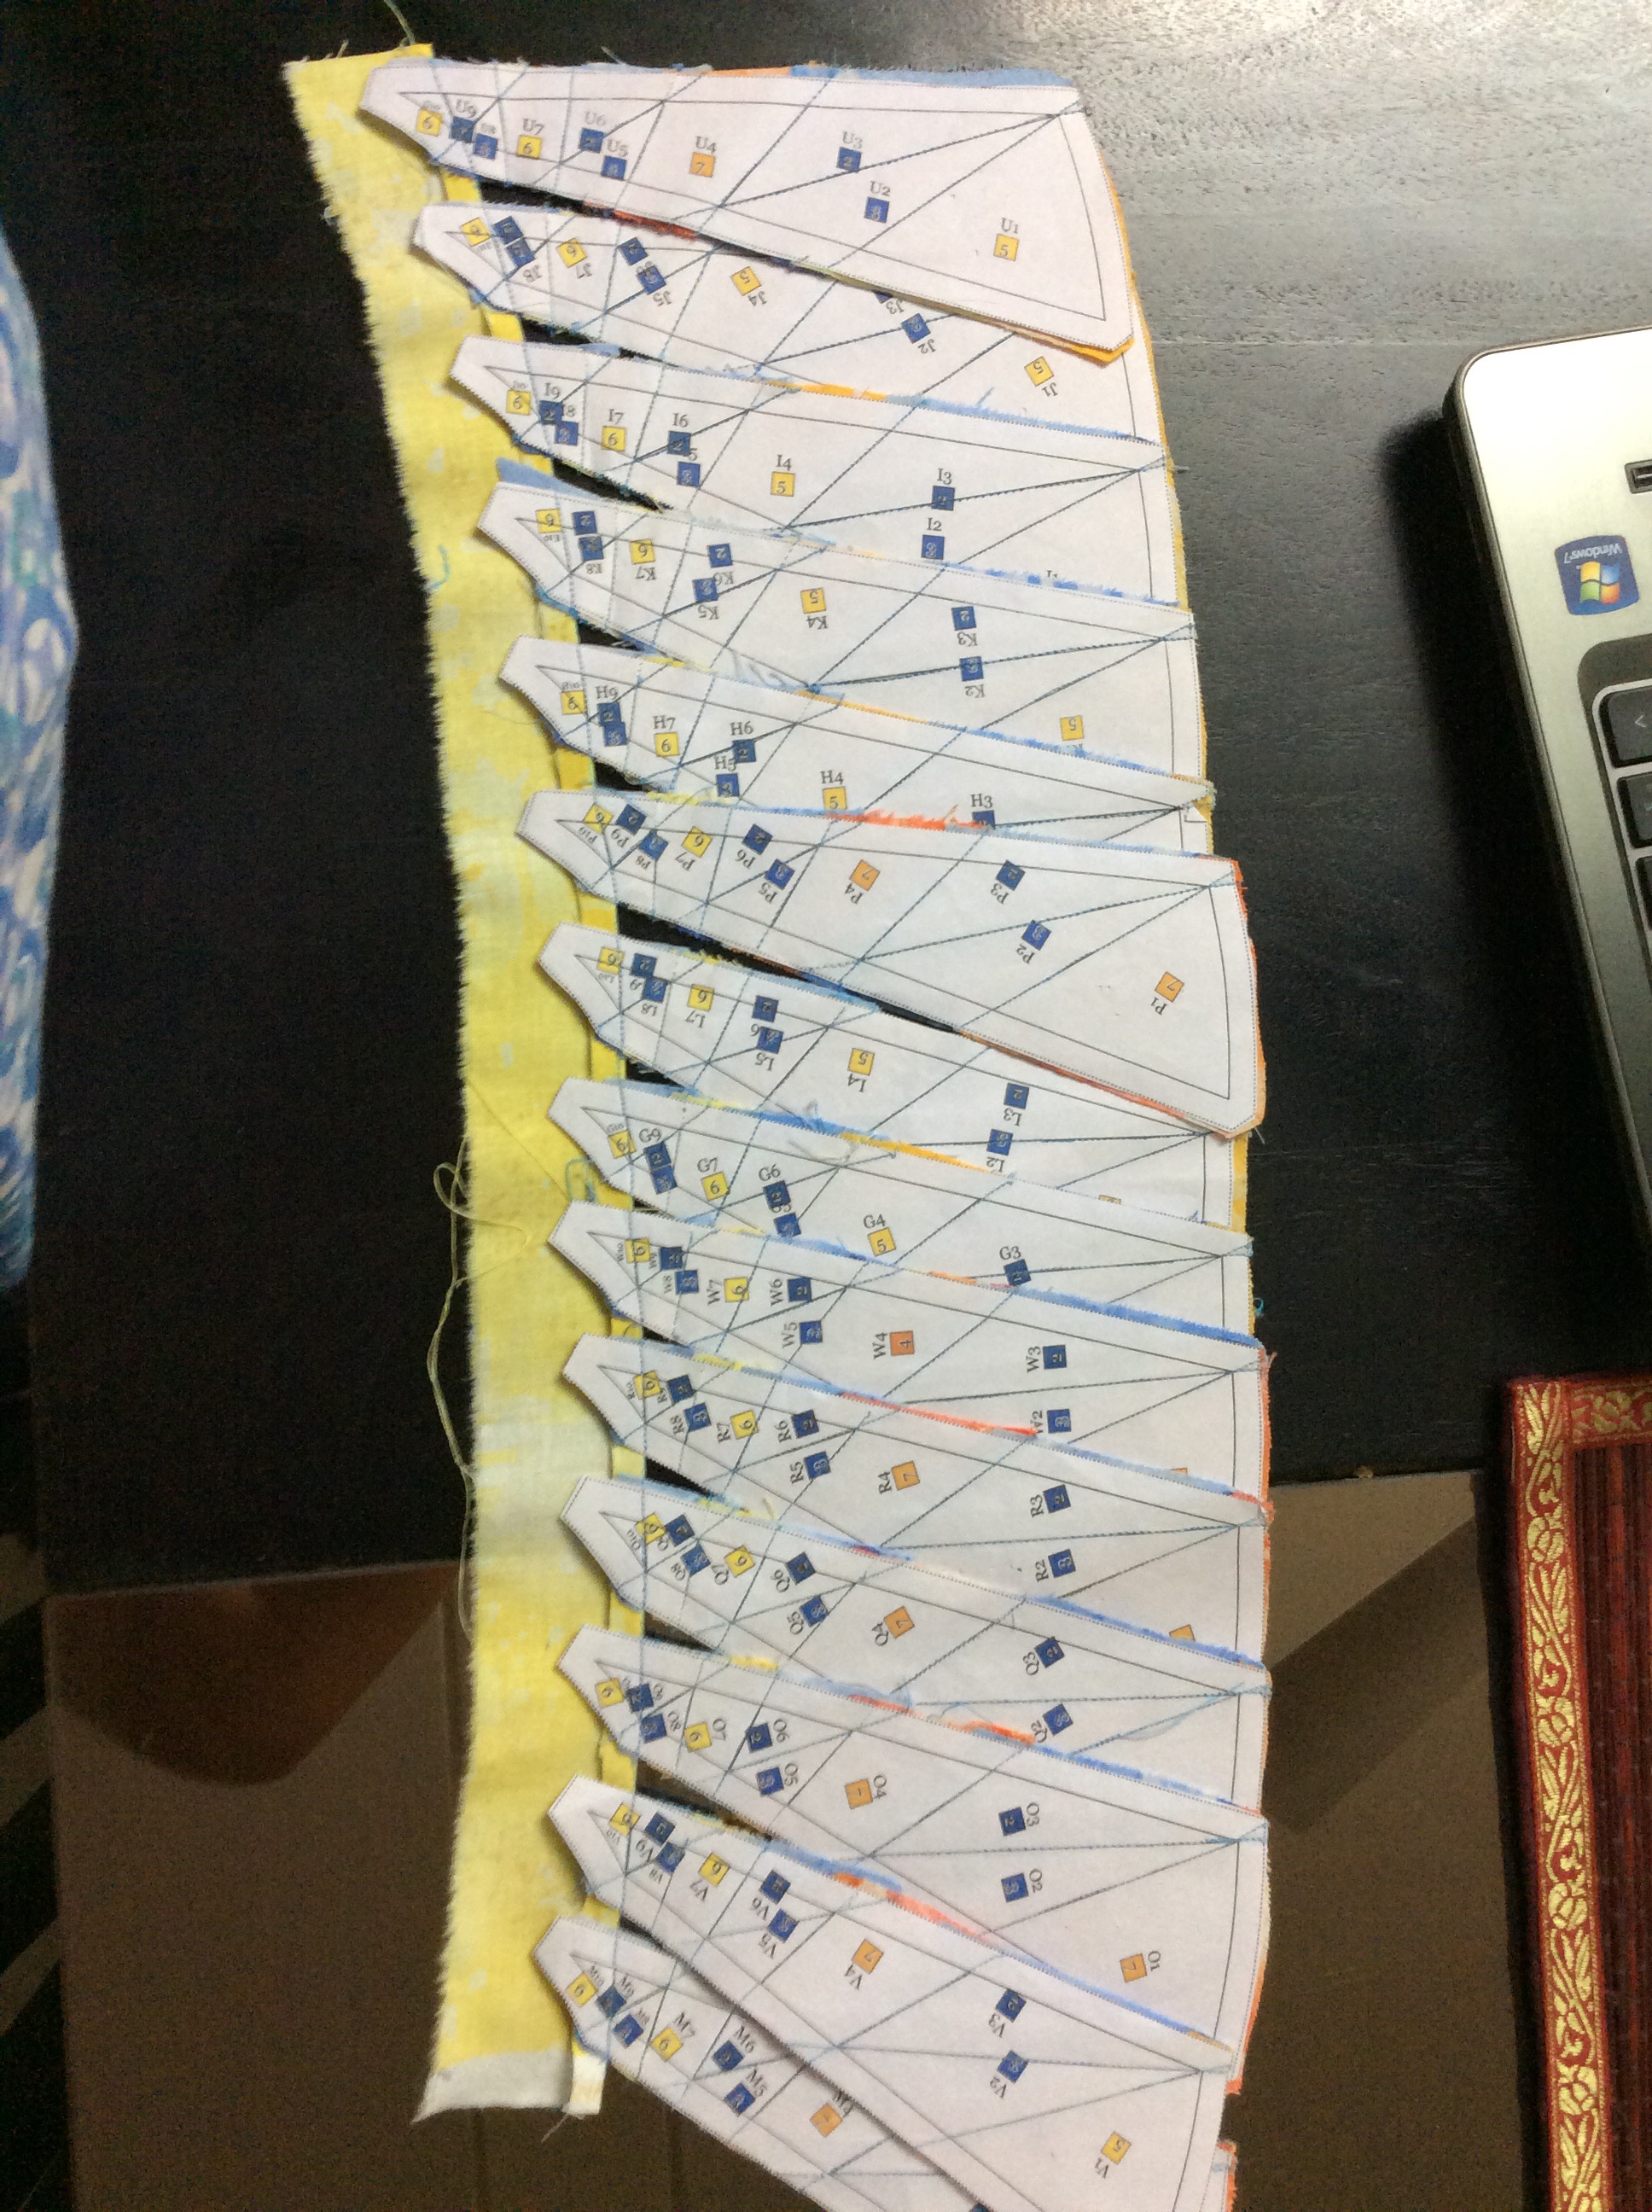
First we piece the spokes of the outer ring (Templates A to X), using (majorly) the chain strip piecing method, that we have used for several earlier blocks. To avoid confusion and efficient use of fabric, the following order of piecing is suggested. We start with templates A to F and fabric strips which will come at piece#1 and piece#2 ( Fabric Codes#4 and #3 respectively). The following photos will explain how we chain piece the templates to the strip pair.
Align the edges of strips for A1 (Fabric#4 and Fabric #3) and place the template A ready for the first seam.Template B will be aligned just below template A, leaving some space in between the two.This shows Templates A to F … first set of seams done and strip for piece#2 pressed open.Cut to separate the templates…Trim the excess fabric up to paper template. Preserve the trimmings!Fold back the paper template on seam line and trim the seam to 1/4″Now fold the paper template at seam line between piece#2 and piece#3. Trim the fabric (Strip#2) 1/4″ beyond this seam line.How templates A to F will look after the first two pieces are in place……All these trimmings will be used…
We are now ready to add the strip which will come in at Piece#3 (Fabric Code#2).
Chain piece the templates to strip for piece #3 and press open before cutting apart.Trim the seam allowance to 1/4″ and the fabric on piece#3 to 1/4″ beyond seam line between piece#3 and piece#4
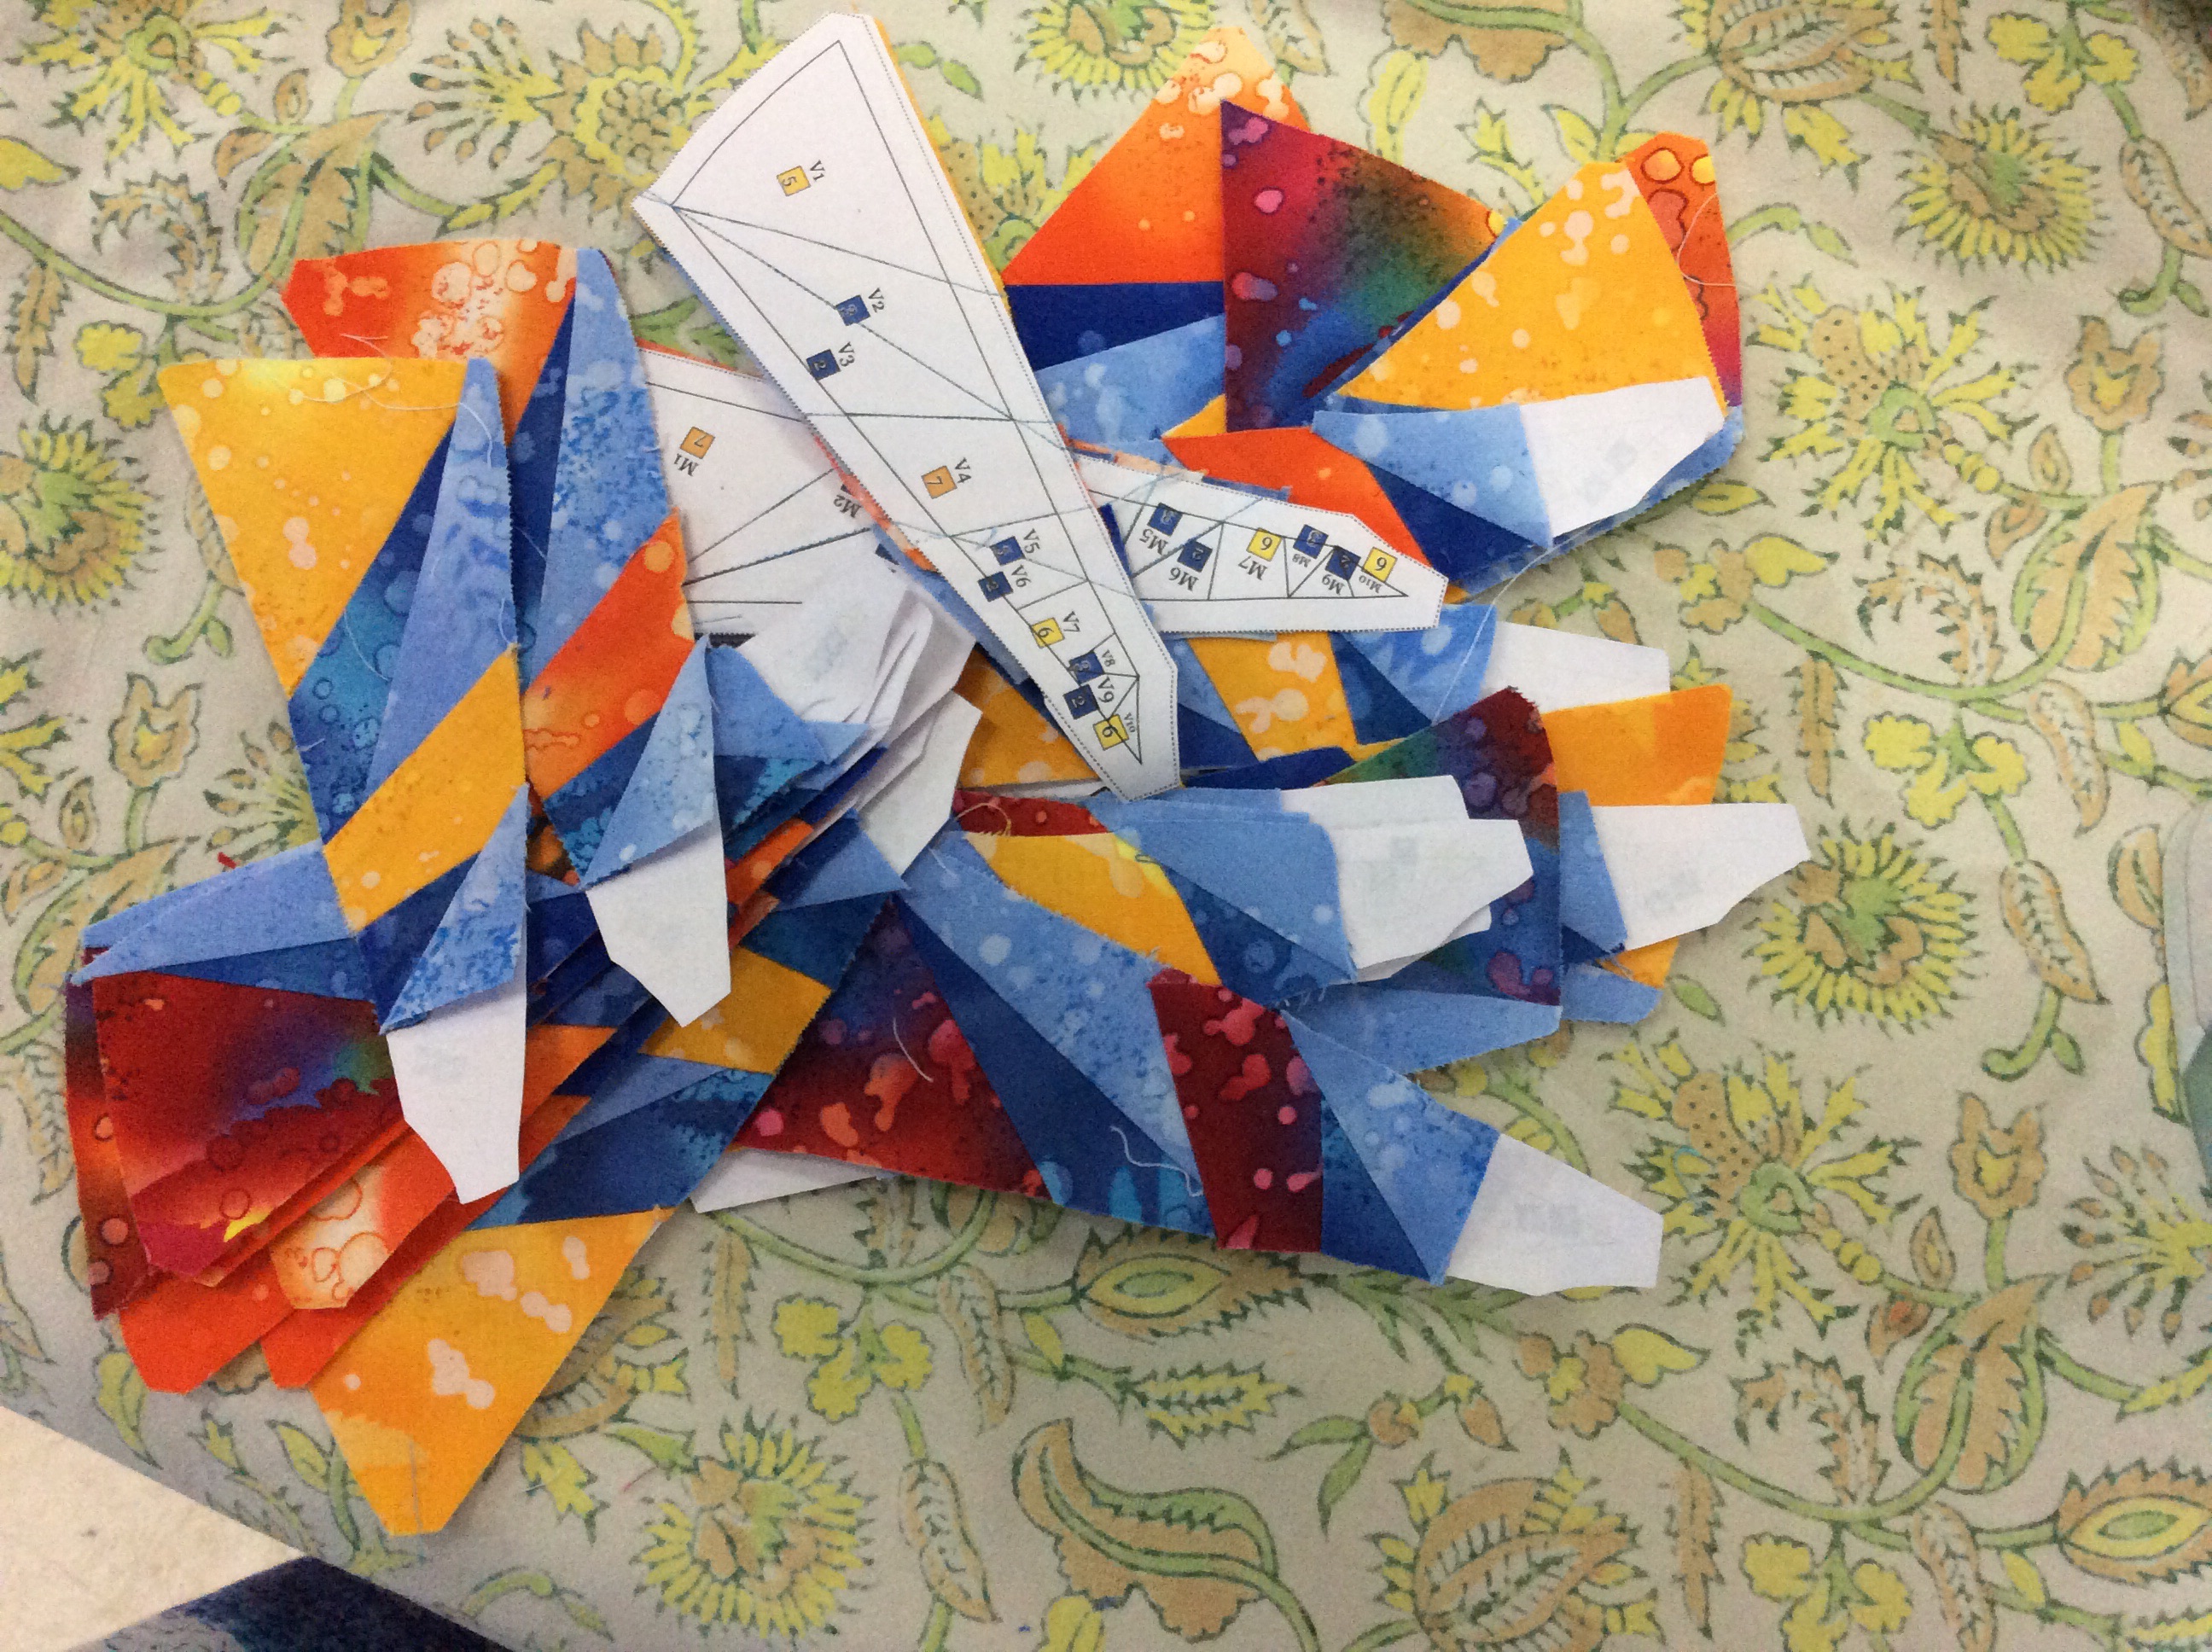
We are ready to add piece #4, for which we can use the trimmings from before! Similarly, piece templates G to L up to piece#4, i.e G1 to G4, H1 to H4…L1 to L4. Piece templates M to R up to piece#4, i.e M1 to M4, N1 to N4…R1 to R4.Piece templates S and T up to piece#4 Piece templates U and V up to piece#4 Piece templates W and X up to piece#4 Now, all our templates for the outer ring our pieced up to Piece#4.
Once we have reached this stage, order of piecing is not important. We are ready to add Piece#5 to all these templates, for which we can use the trimmings from Piece#2. Similarly, trimmings from piece#3 can be used for piece#6. This upcoming pic shows the spoke templates pieced till piece#6.
Templates A to X pieced up to Piece#6…
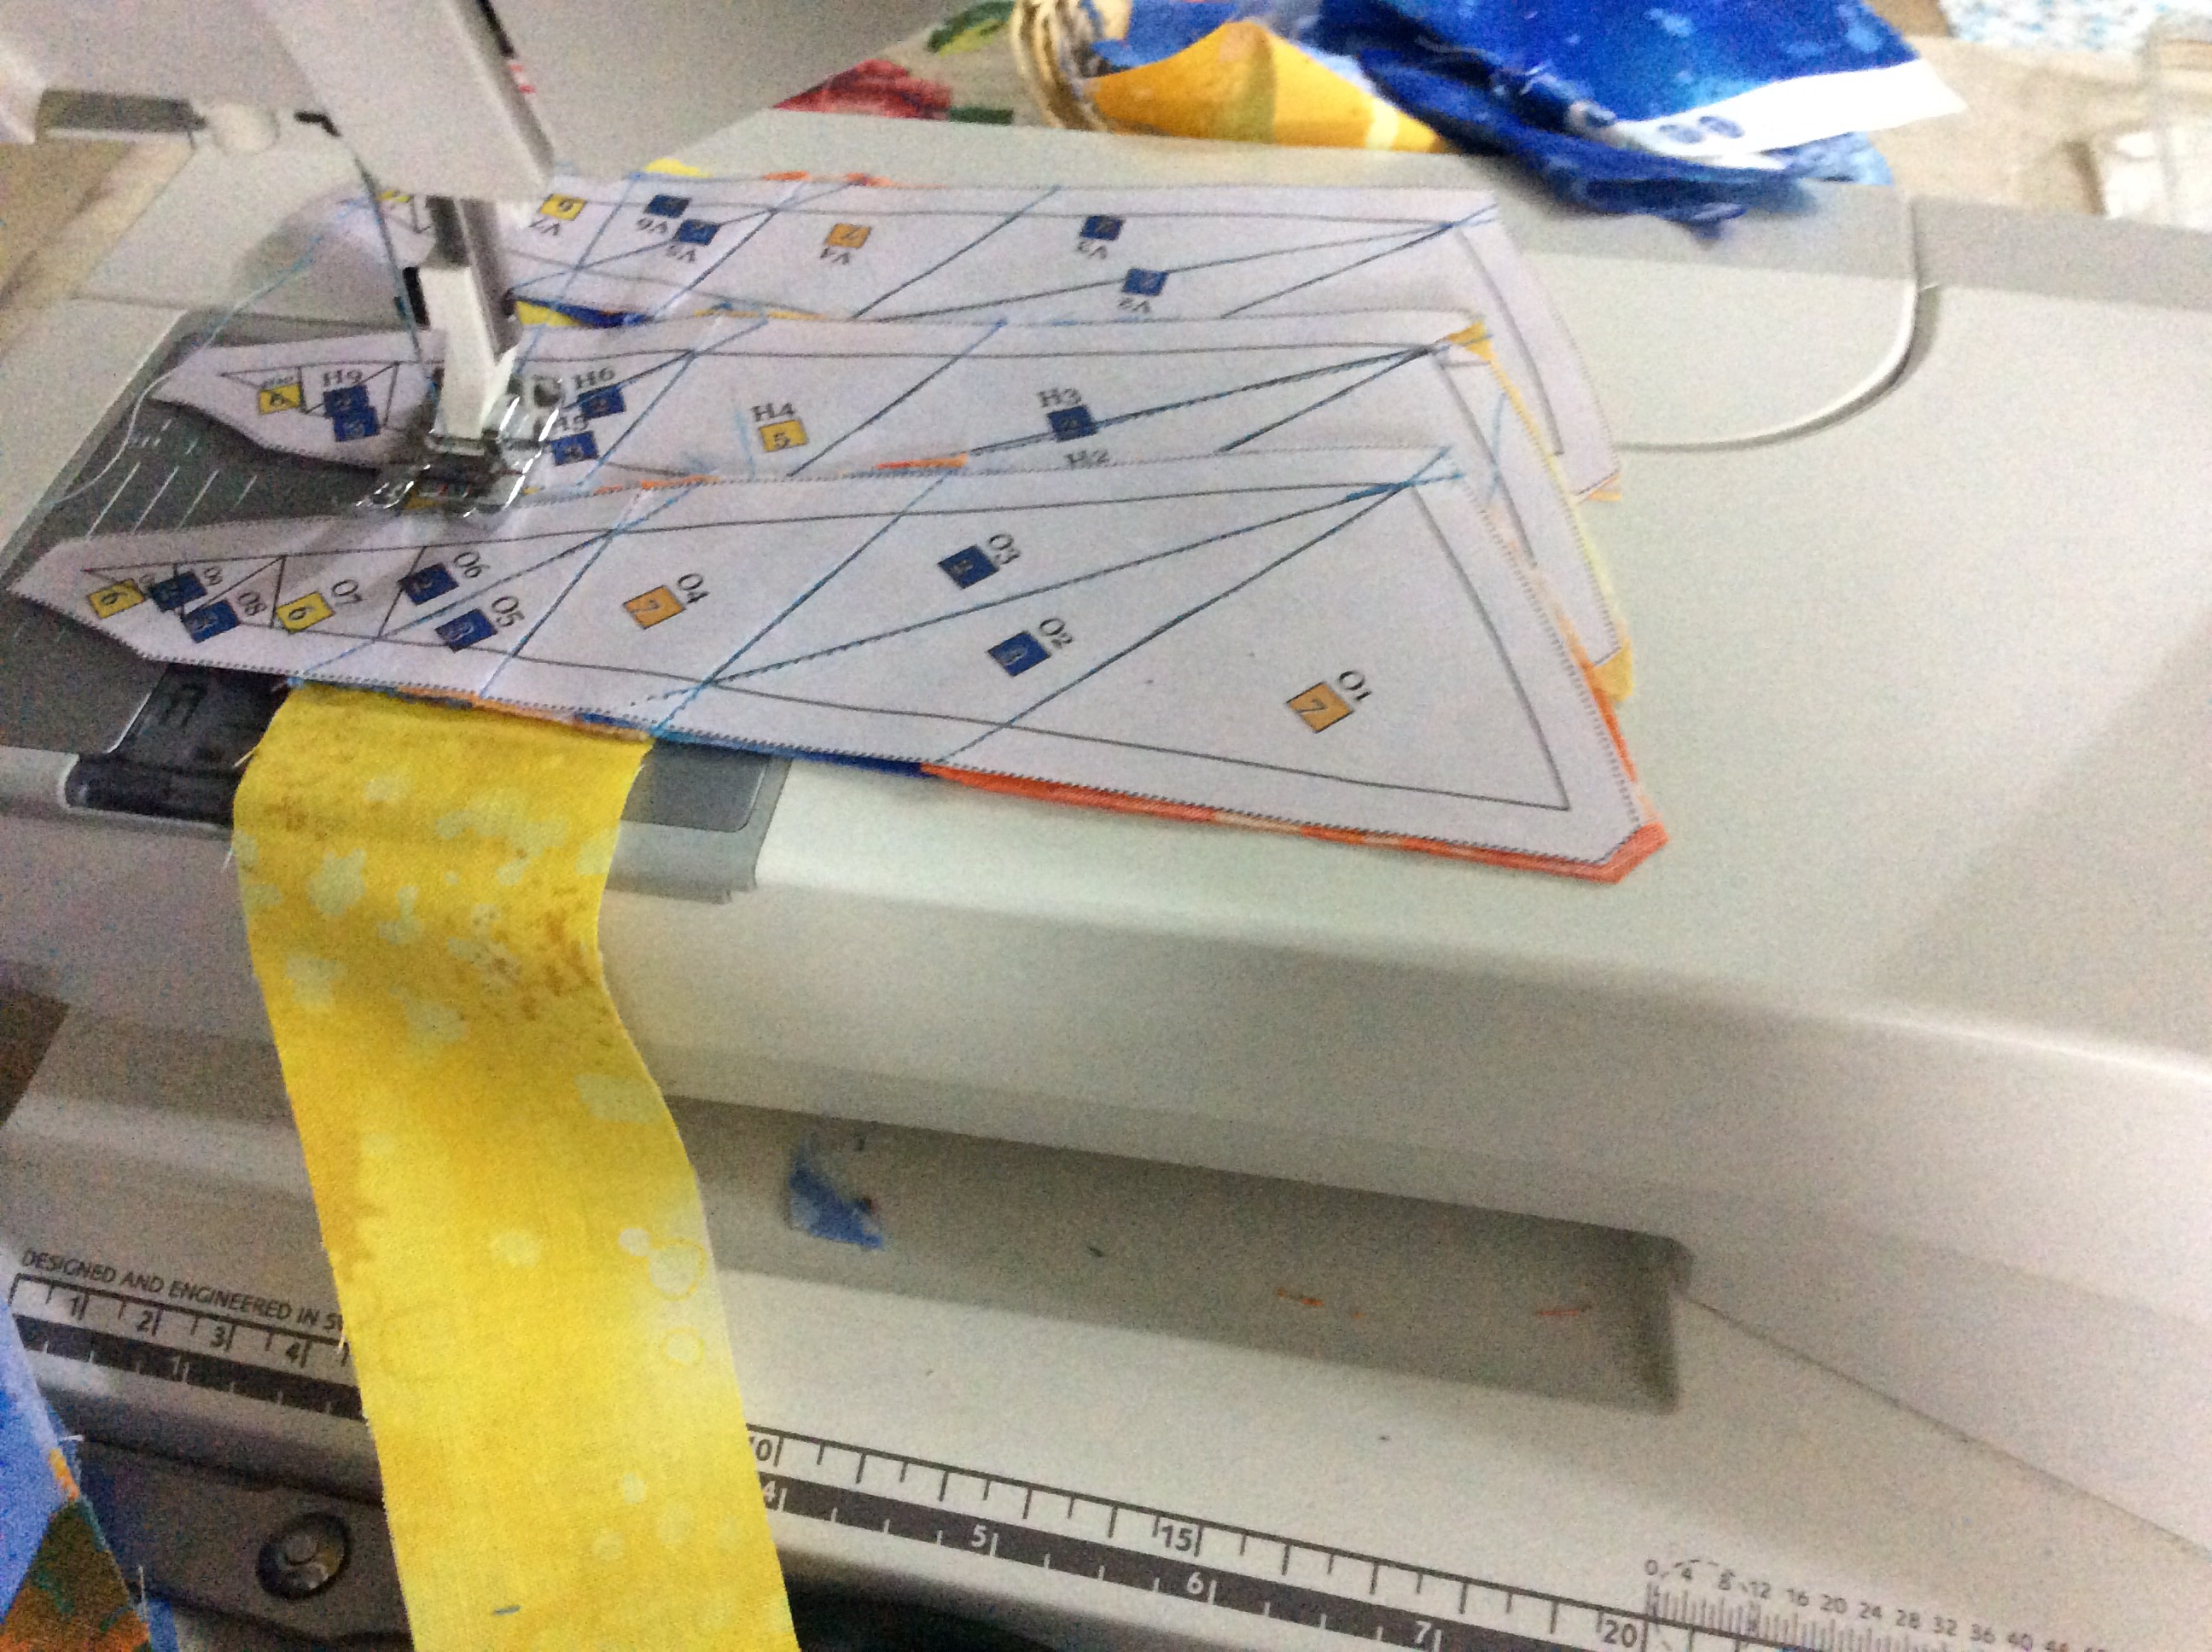
Here comes the strip which will occupy space at piece#7.
Piece#7 coming up.
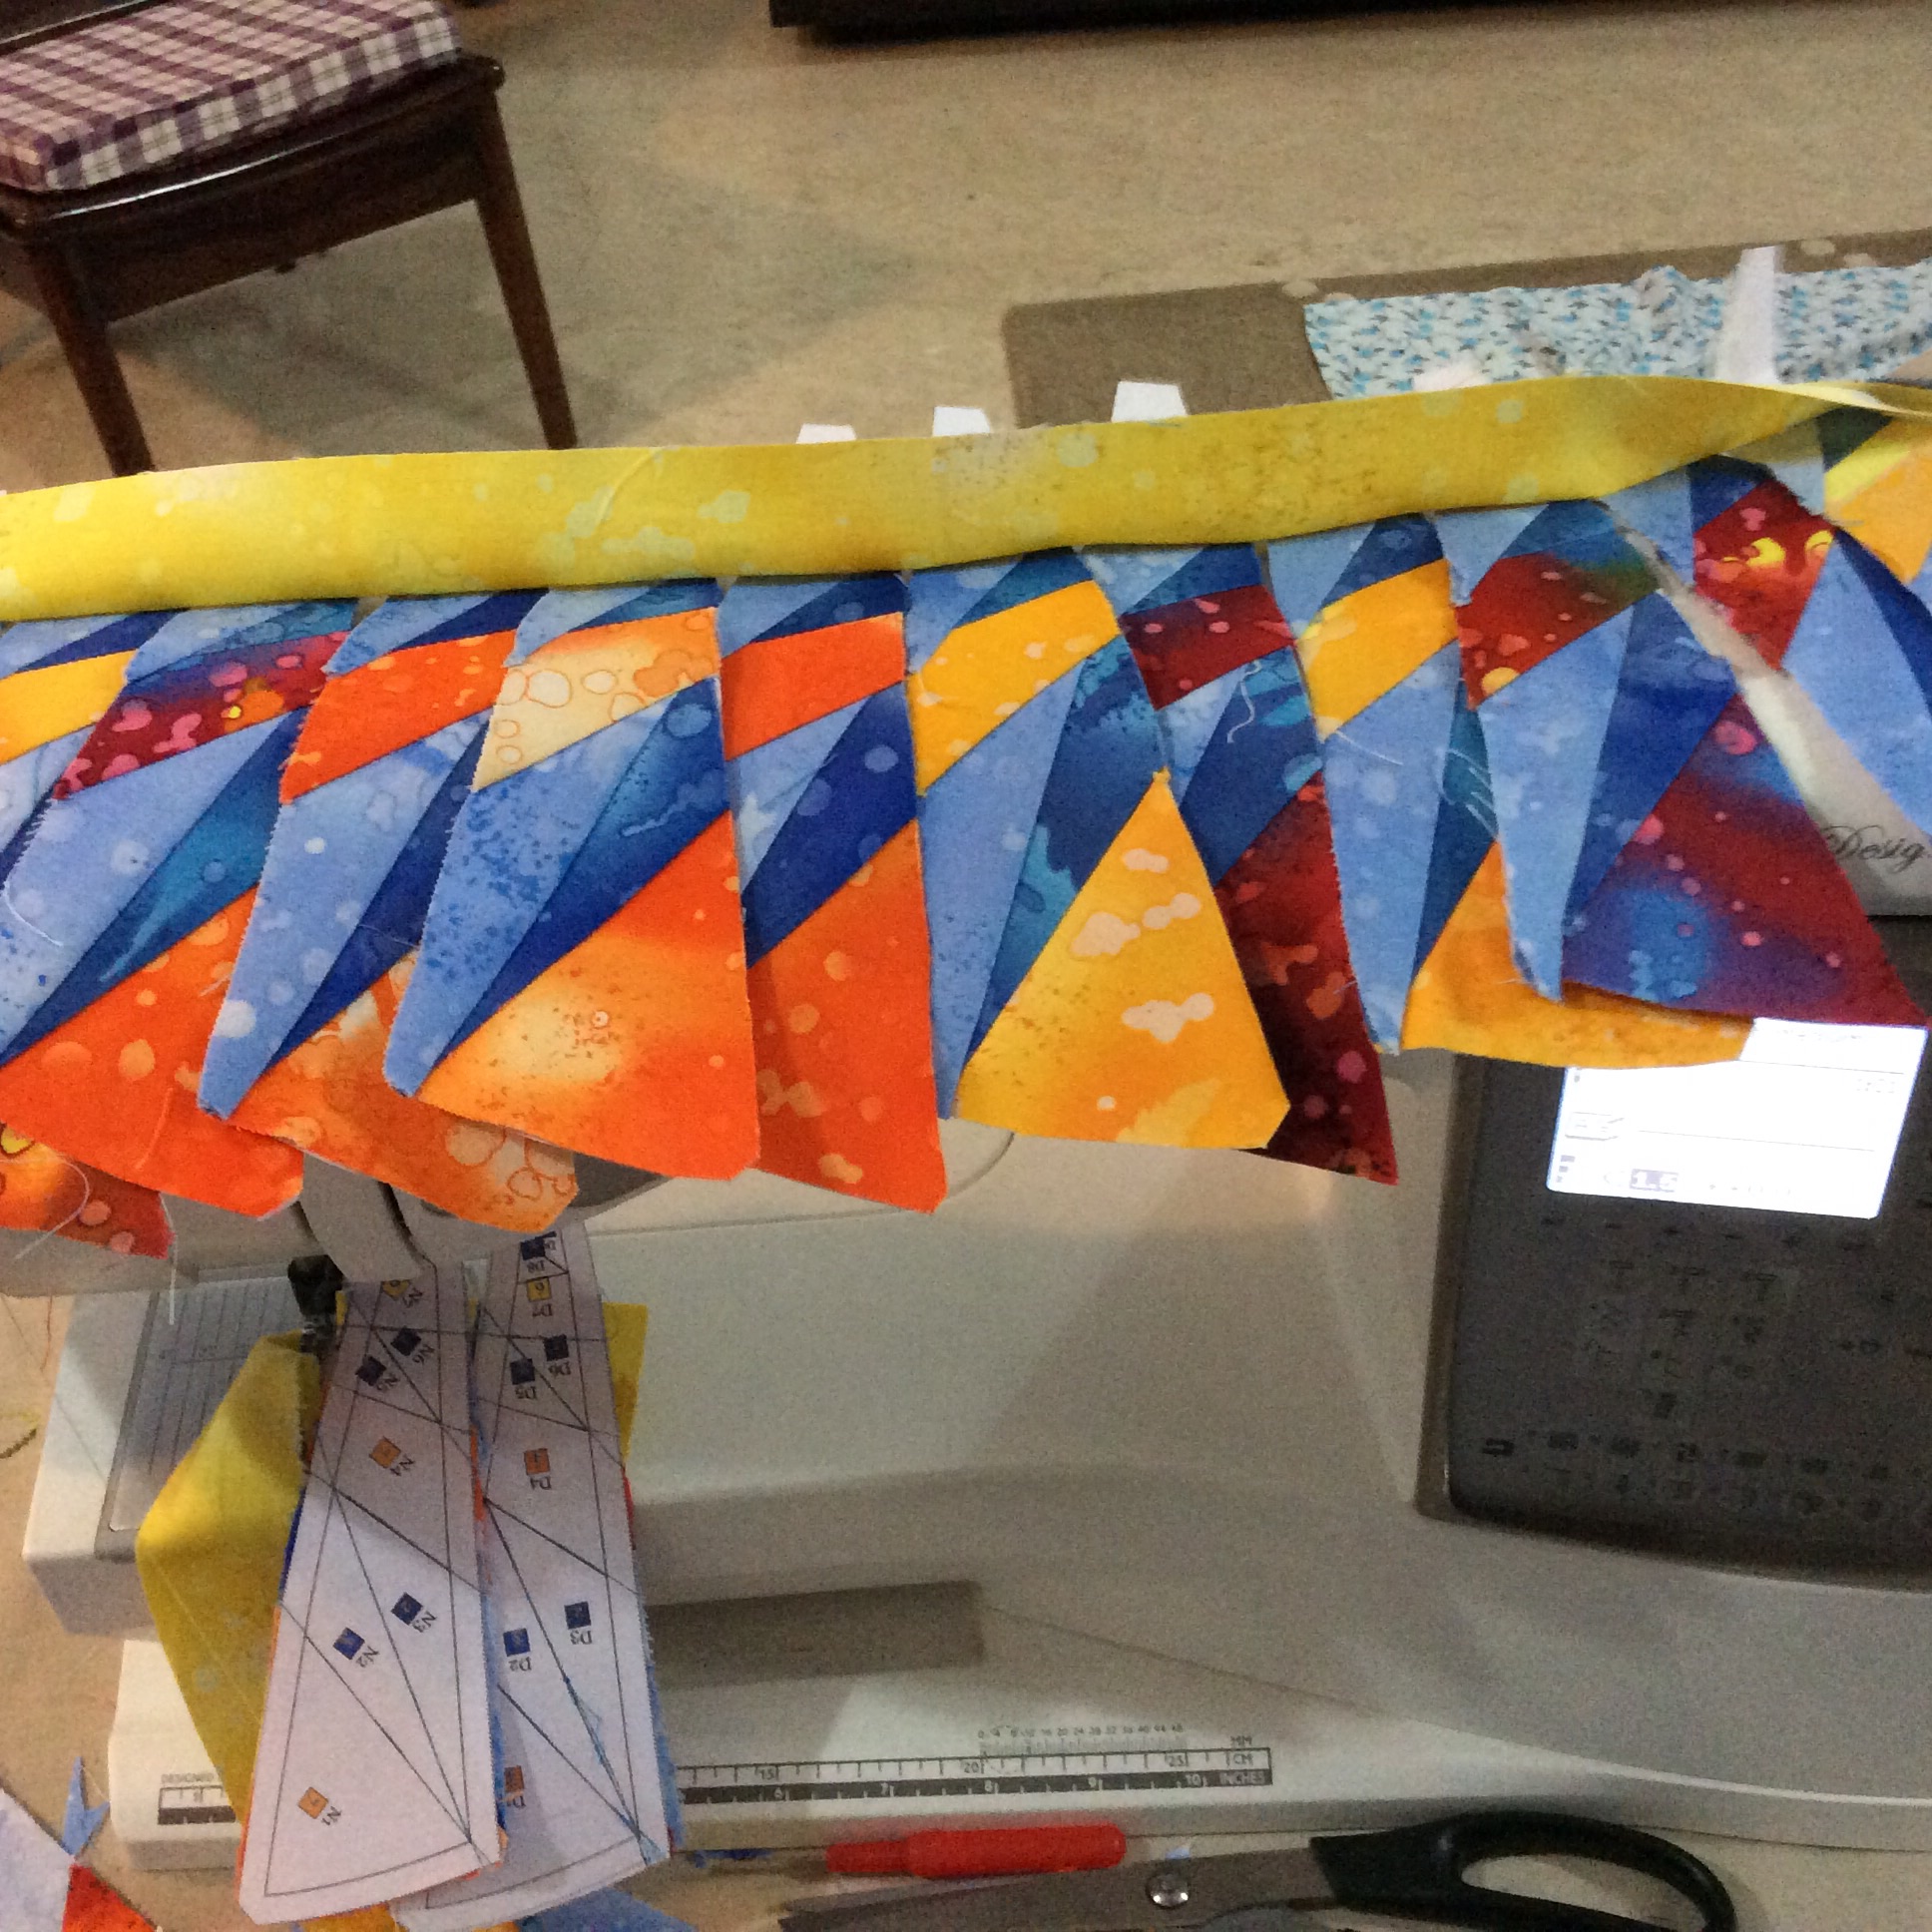
You will see that the broader portion of the templates are overlapping. The important thing is to maintain about 1/2″ distance between the seam you are sewing on one template and the next. Time for a break and a little bit of fun! ALWAYS, remember to press open the strip you have sewn before cutting apart the templates. Also trim the seams, and the fabric just sewn to 1/4″ inch or so, beyond the upcoming seam line. I used scraps for pieces #8, 9 and 10, where I could. When I ran out of scraps, I used strips. Here is the final strip coming up!
Final strip sewn and pressed open, ready to be trimmed!
Trim and put them aside, ready for assembly.
Inner Circle Compass
To piece the inner circle compass, piece as follows: Piece Y, Z, AA and AB. Piece AC, AD, AE and AF Use QSTs from Fabric#2 at piece#1 in all these templates.
The inner circle templates pieced. ( I have added an additional 1/4″ beyond the outer trim line, as I am going to try out something new for joining this to the ring.)
Assembly Instructions
Use the Master Template given in the Instructions File as a guide for assembly.
Outer Ring
I suggest you make piles of the templates as follows: A-B-C ; D-E-F; G-H-I; J-K-L; M-N-O and P-Q-R. Put aside S-T-U-V-W-X
Templates in piles…
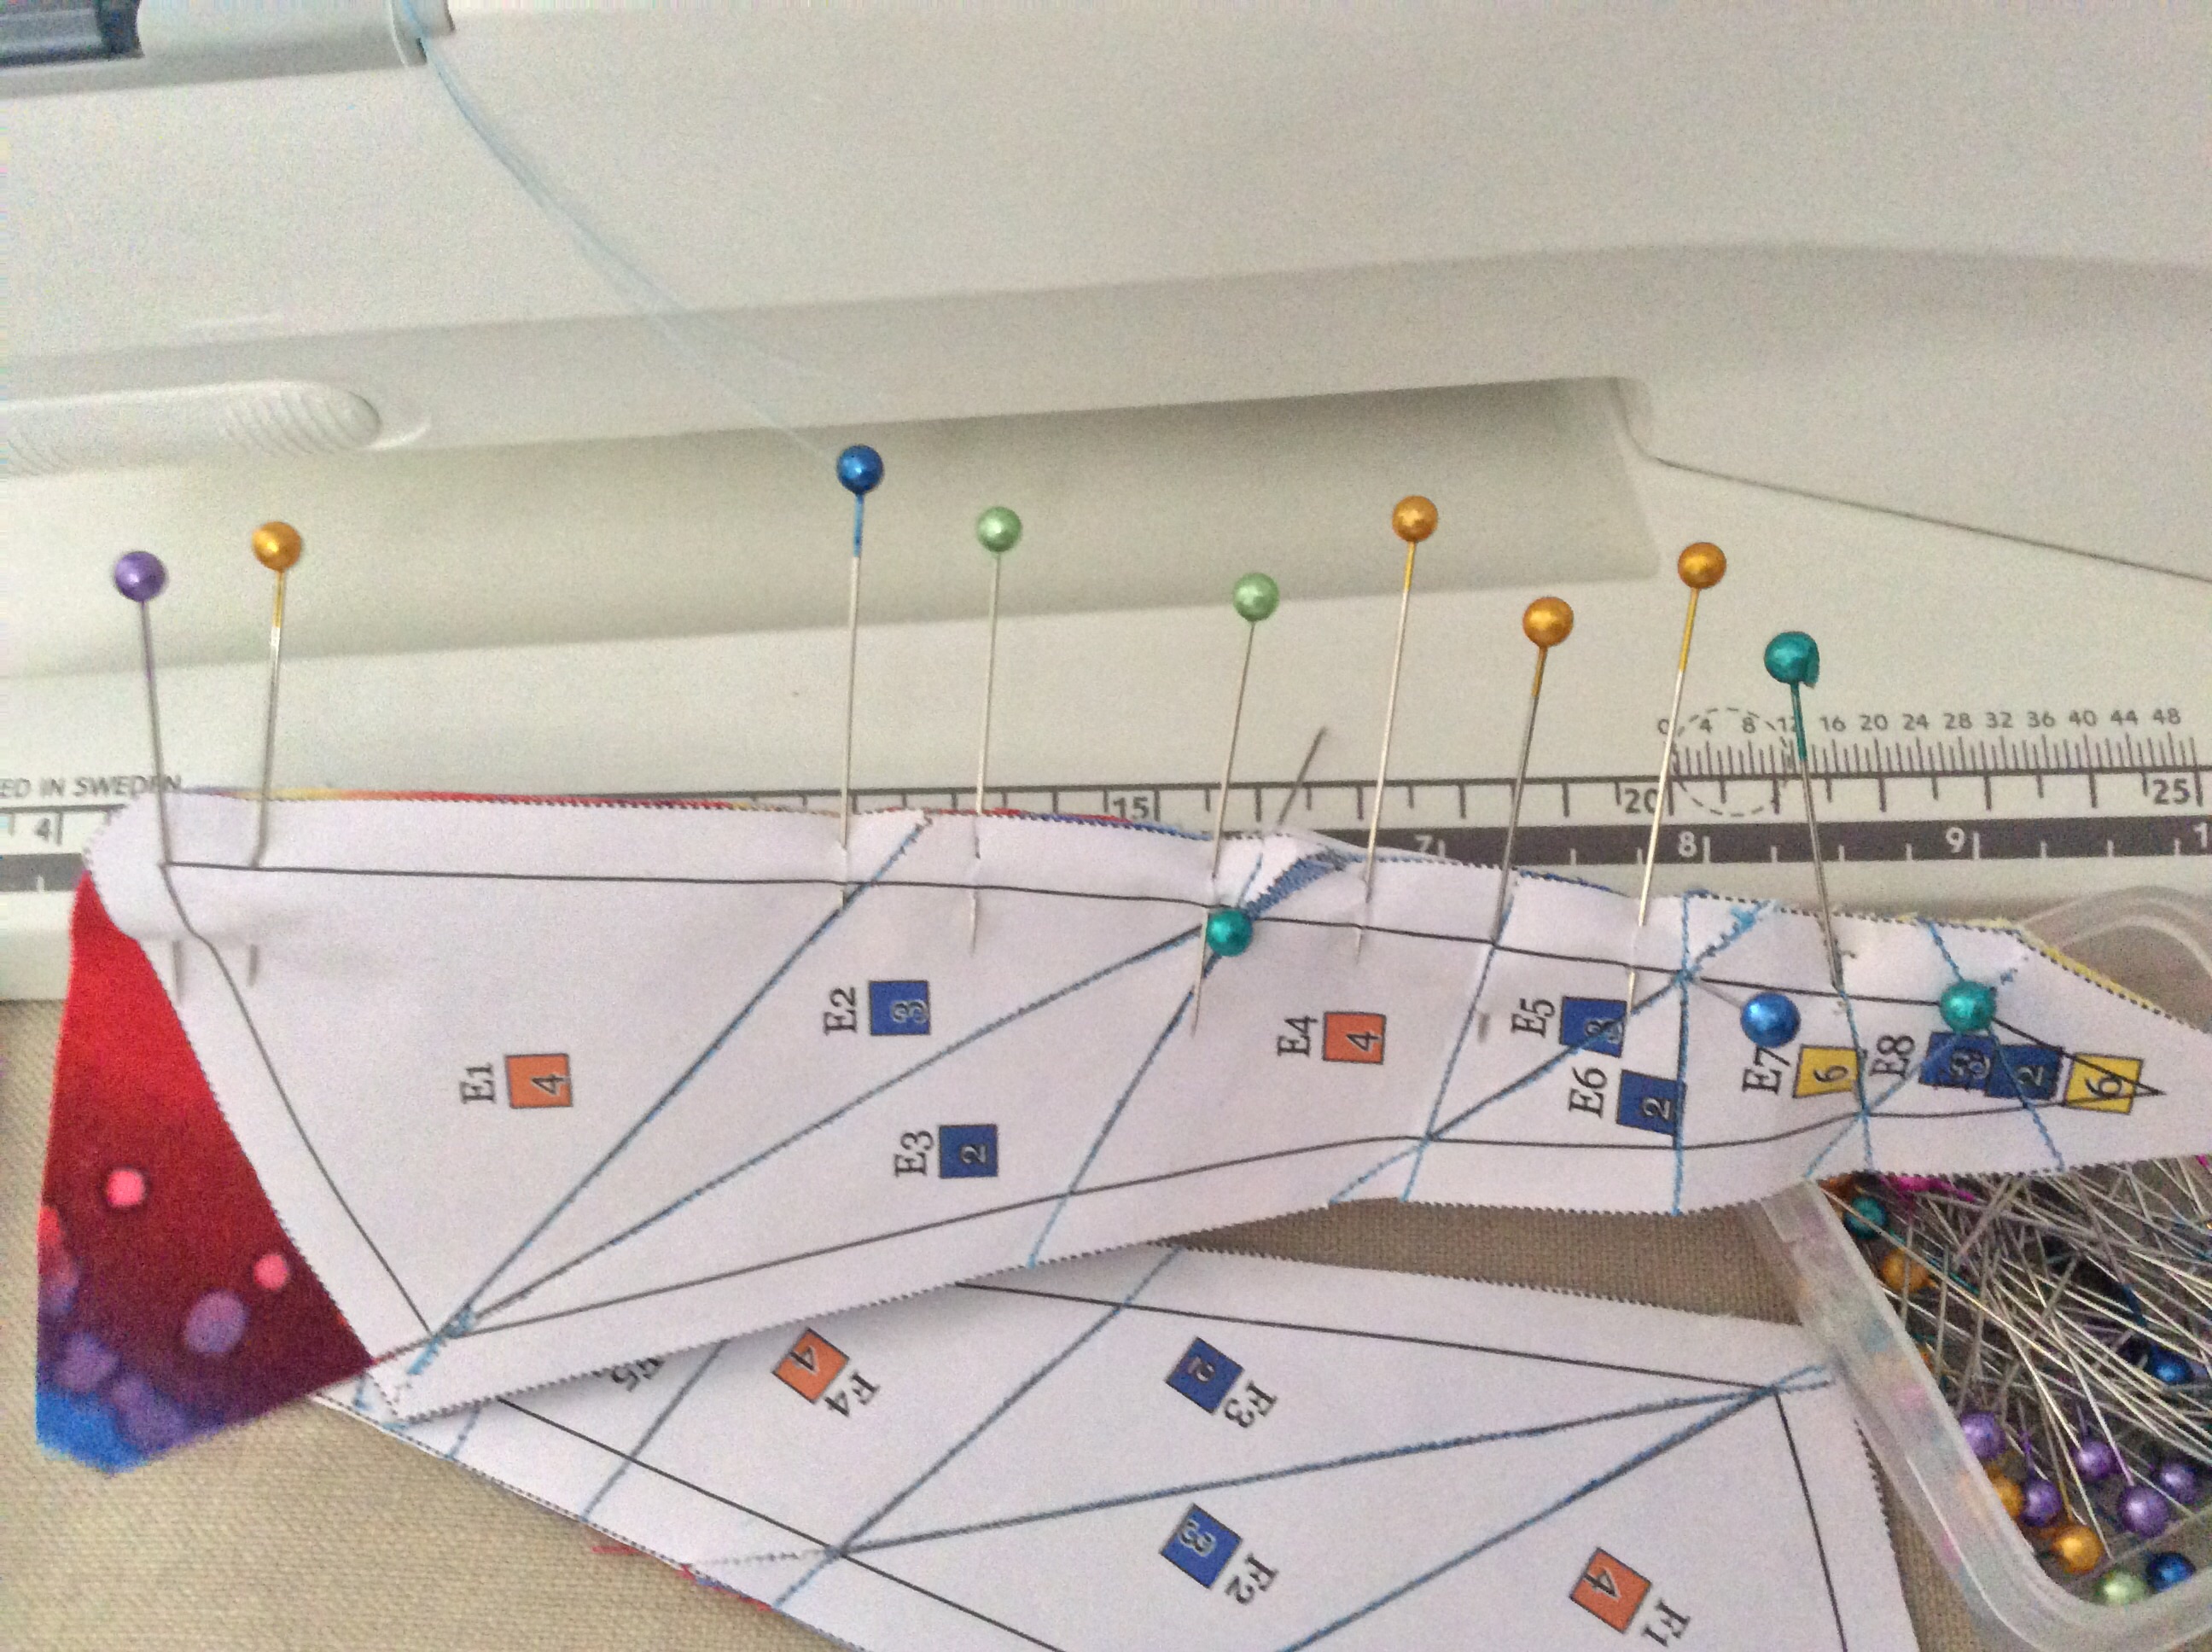
To join the templates, pin them first at the outer, broader edge. I like to insert vertical pins, matching the seams, before pinning on the seam line.
Vertical pins where seams will meet.Horizontal pins on seam line; the vertical pins are now being removed.
This results in perfectly matched seams and corners!
Perfecto!
And so we sew the piles as follows ABC, DEF, GHI, JKL, MNO, PQR. Now bring on the pile S-T..X and add these, following the master template.
Work with the Master Template! Do not let the mirror image confuse you.
So you have 6 sets of partly assembled templates as follows: ABCS, DEFT, GHIU, JKLV, MNOX and PQRW. Remove the paper from the seams. You may like to press the seams open; I like to press them in one direction; all of them then must be pressed either clockwise or anti-clockwise. I also removed the paper from the inner templates, leaving it intact only at the circumference and inner edge. Now sew these together.
The ‘ring’ from the back…… and from the front!
Inner Circle Assembly
Assemble the inner circle in quarters ……then in halves. Again, I like to press the seams in one direction. and finally the full circle. I stitch first from one edge to the centre and reverse. Break thread, and stitch from the other edge to the centre. I then rip open a bit of the crossover seam at the centre to give the seams a ‘twirl’.
Final Assembly
I have not assembled the final block as of now. But this is how I suggest it be done: Join the ring to the square using your favourite method. Finally, appliqué the centre circle. Another look at the block and what inspired it.
The Inspiration and the Block!
I hope you will love making this block! I assure you the result is well worth the effort. Take it easy, enjoy every seam and then savour all the oohs and aahs your work receives! I have also, more or less, finalised the layout I am going to use for these blocks. I shall share it with you soon.
This is where you download the instructions and templates for the block. You would need Adobe Reader ( download for free online) to be able to read these PDF files.
1.BLOCK16 MARINER24 Instructions
2.BLOCK16 MARINER24 Paper Piecing Templates
Please note that the downloadable patterns with paper piecing templates and instruction files for the Dreamcatcher Round the Year quilt blocks are being migrated to my store MadsPatch and will not be available for download for free from 15th November 2020 onwards.


You must be logged in to post a comment.